Migrating a VM Between Standalone Proxmox Servers (13-Step Guide)
In this guide, we’ll walk through the process of backing up a VM on a standalone Proxmox server, migrating that backup to a new standalone Proxmox server, and restoring the backup. This process will involve some downtime.
1. Power Down the VM
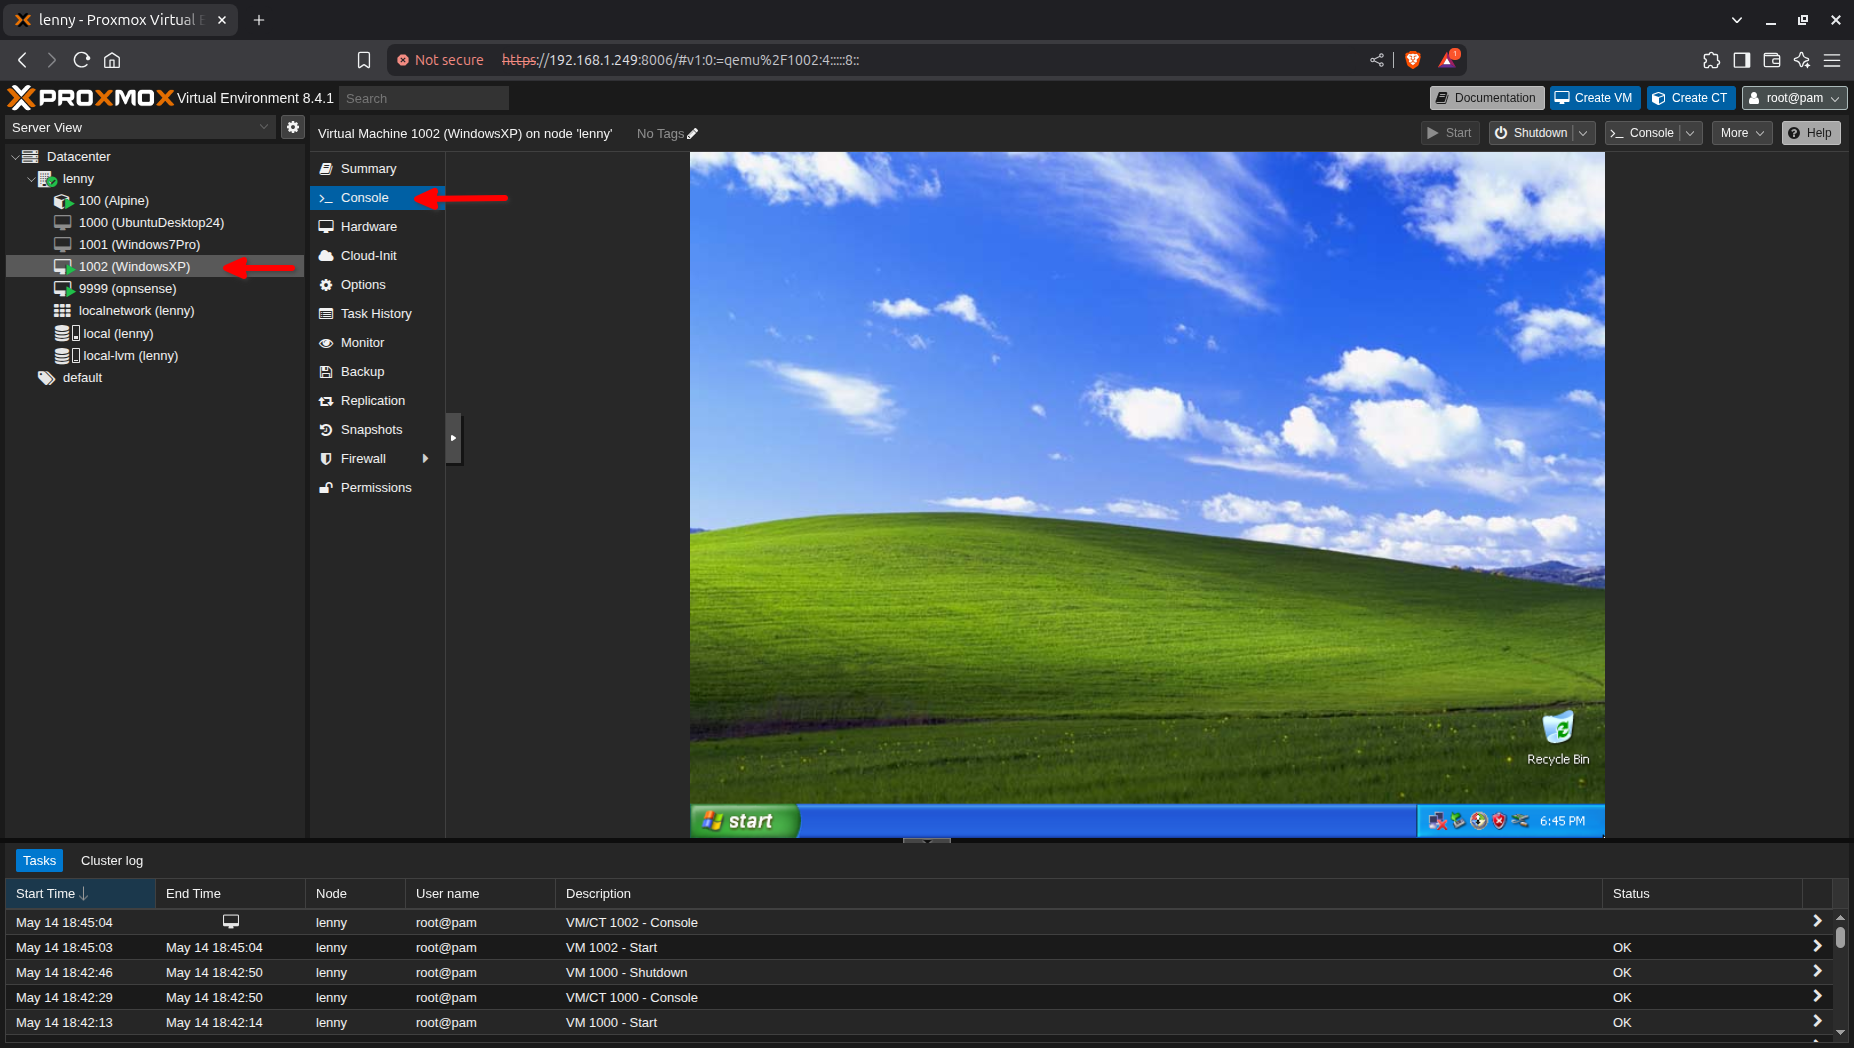
In the image below, we have a state-of-the-art Windows XP VM that we’ll be migrating from “Lenny” to “WyseGuy.” Let’s start by navigating to the console and powering down the VM.

2. Start the Backup Process
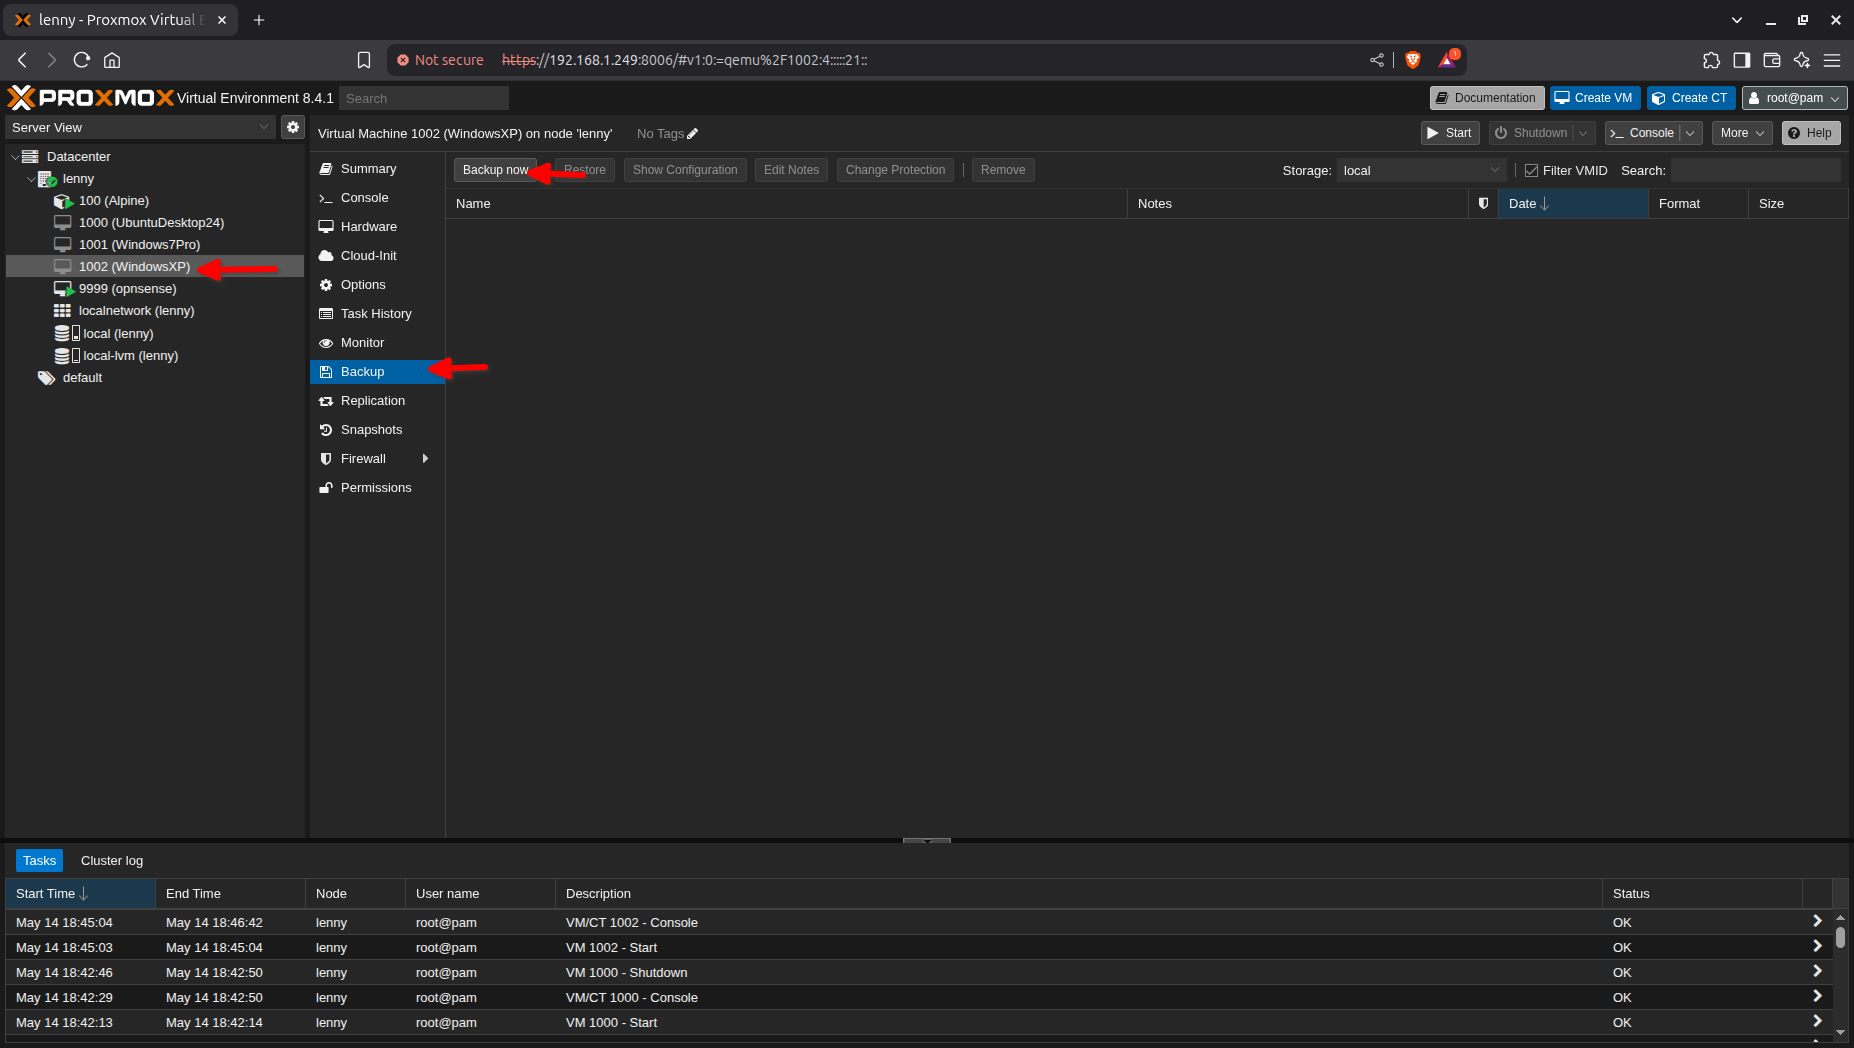
Once the system is powered down, go to the VM’s Backup tab and click the Backup now button.
3. Confirm Backup Settings
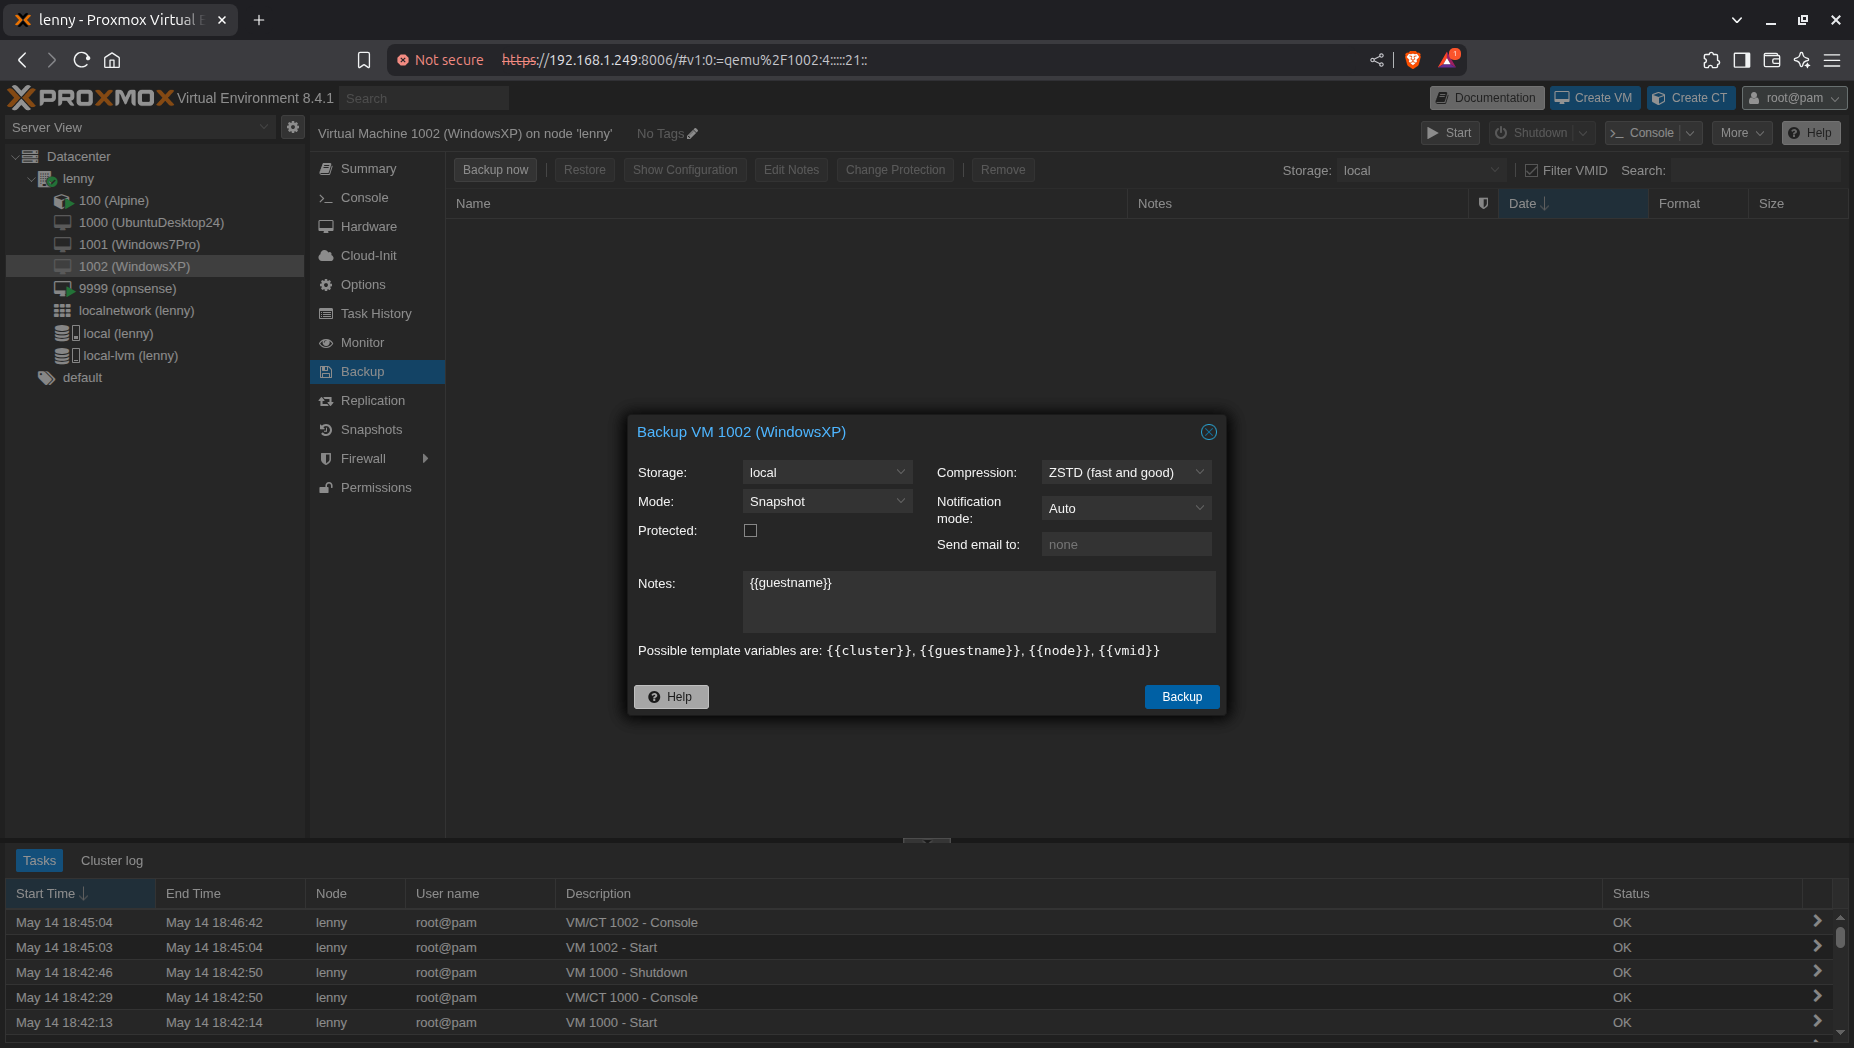
In the backup dialog box, keep all the default settings and click the blue Backup button.
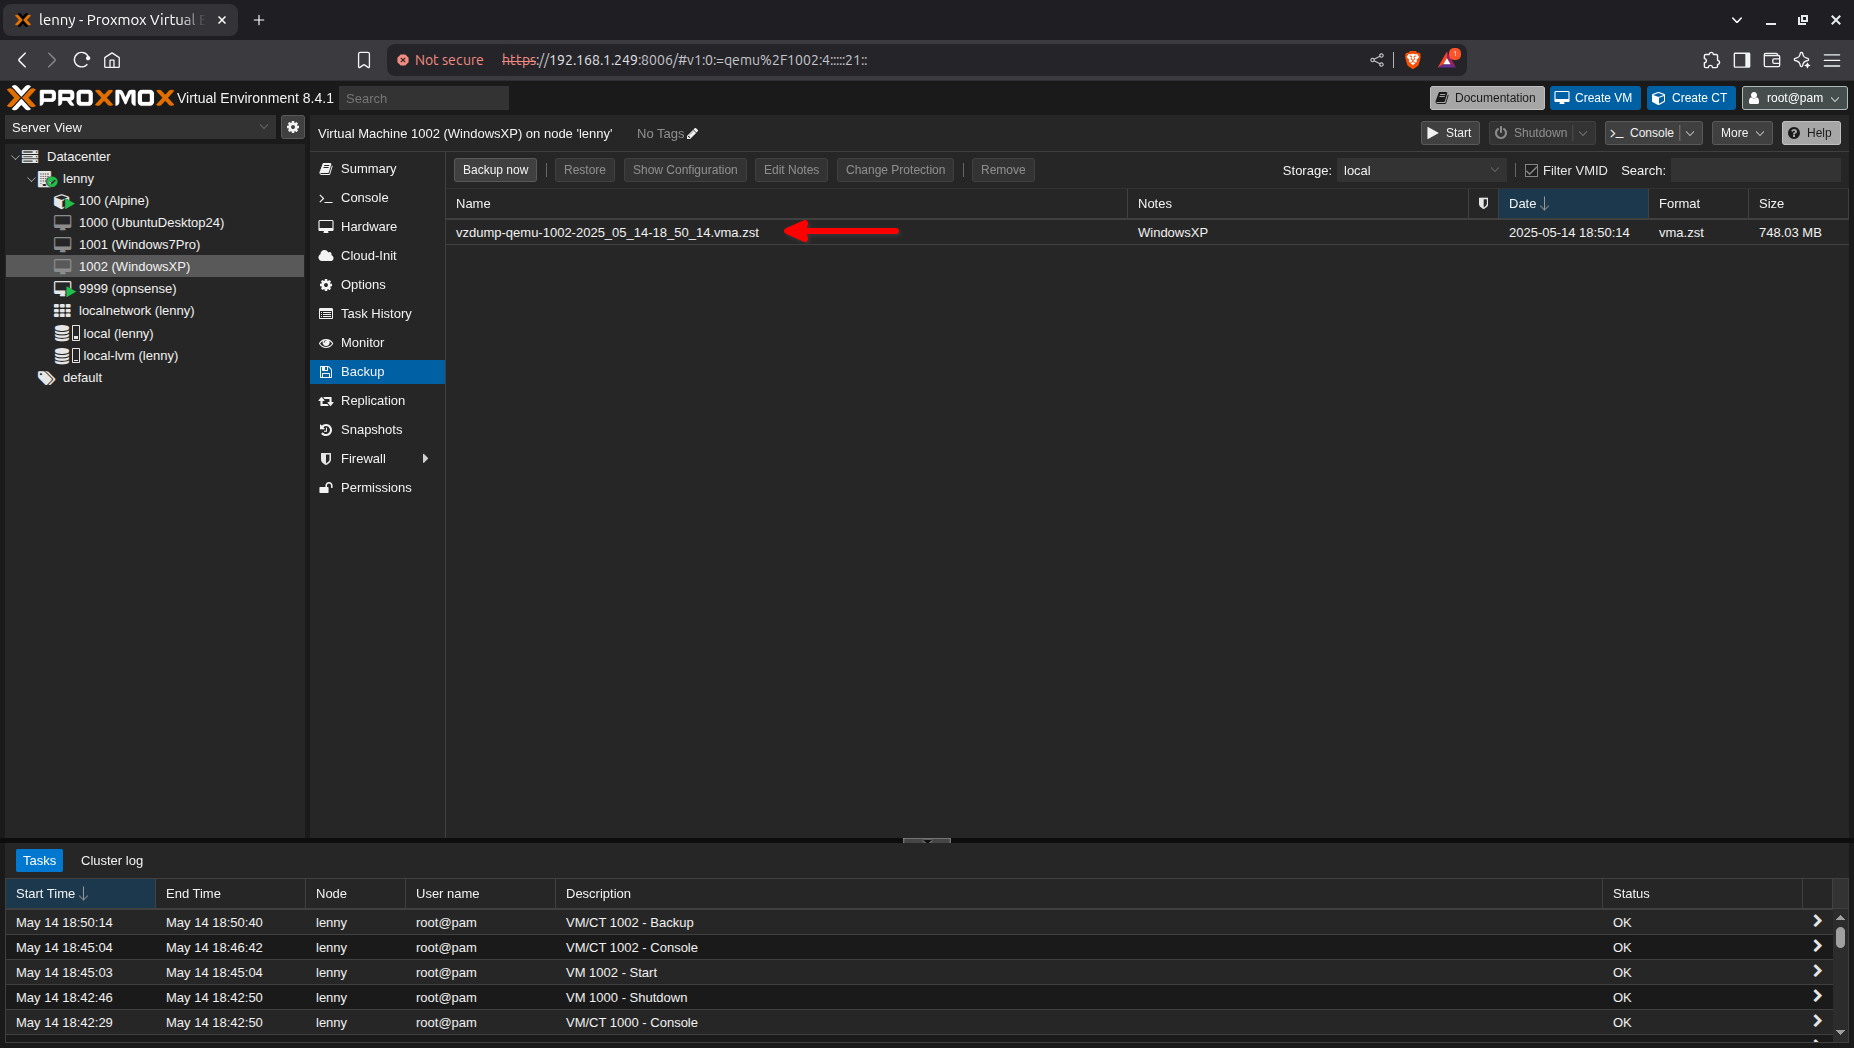
4. Note the Backup File Name
When the backup completes, you’ll see a new entry under the Backup tab. In this example, we have:
vzdump-qemu-1002-2025_05_14-18_50_14.vma.zst
5. Open the Shell on the Source Host
Next, we need to locate where Proxmox stores these backups so we can move the file to the new host. Navigate to the host (Lenny) and click the Shell button.

6. Find the Backup File Location
In the shell window that opens, run the following command to find all files with the .zst extension. (If you’re not logged in as root, prepend sudo to the command):
find / -type f -iname "*.zst" 2>/dev/null
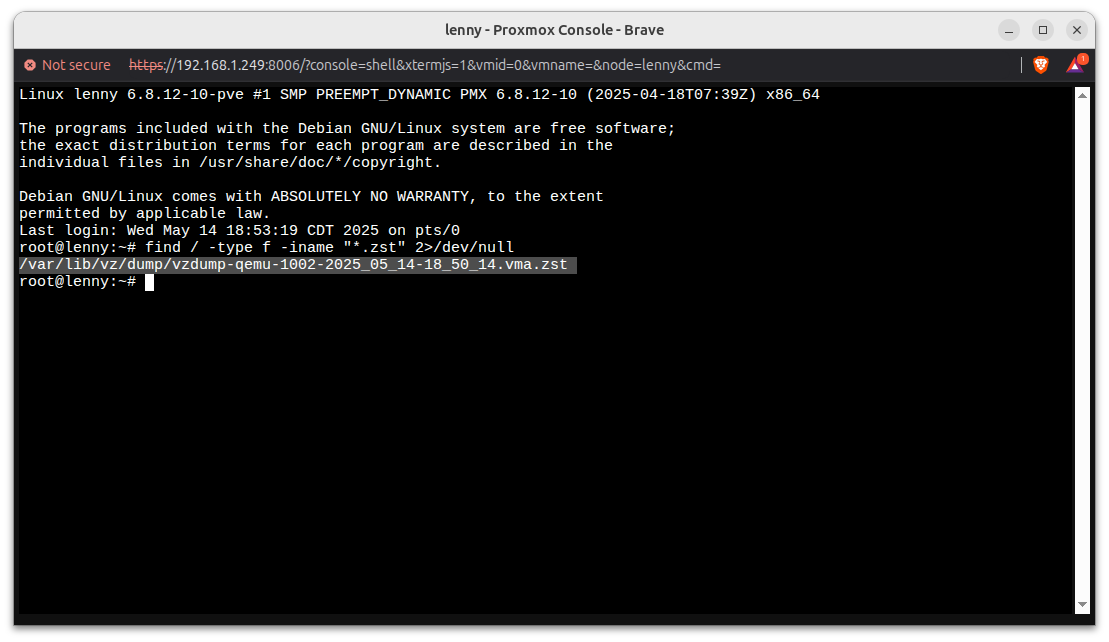
In our case, the full path is: /var/lib/vz/dump/vzdump-qemu-1002-2025_05_14-18_50_14.vma.zst
7. Copy the Backup File to the New Host
Use scp to copy the backup file from “Lenny” to “WyseGuy”:
scp /var/lib/vz/dump/vzdump-qemu-1002-2025_05_14-18_50_14.vma.zst [email protected]:/var/lib/vz/dump/
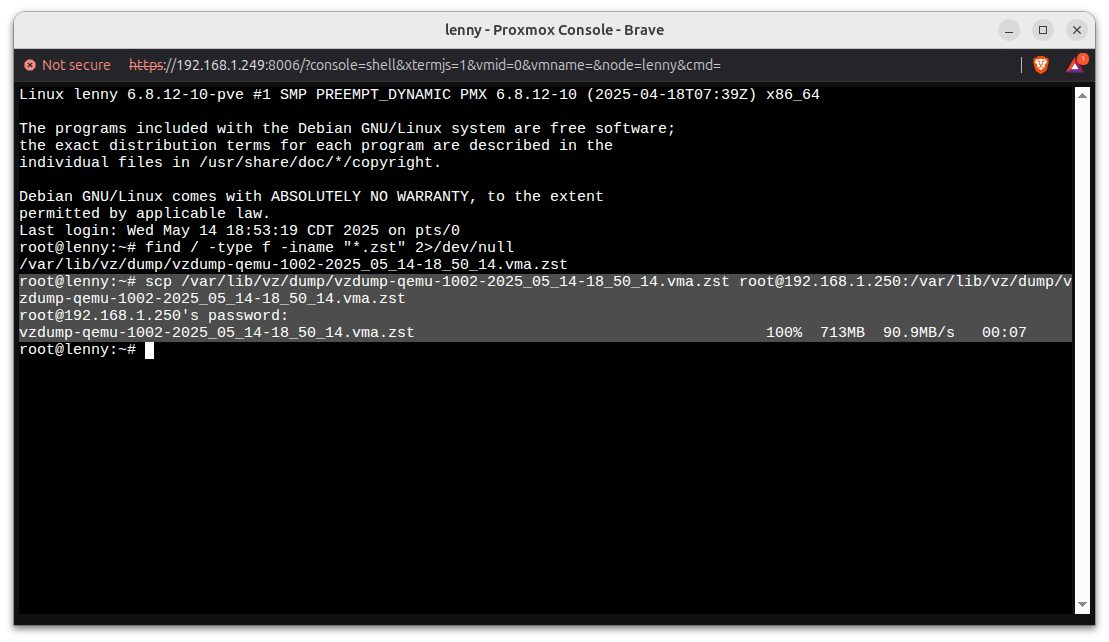
This may take some time depending on your network and storage speeds.
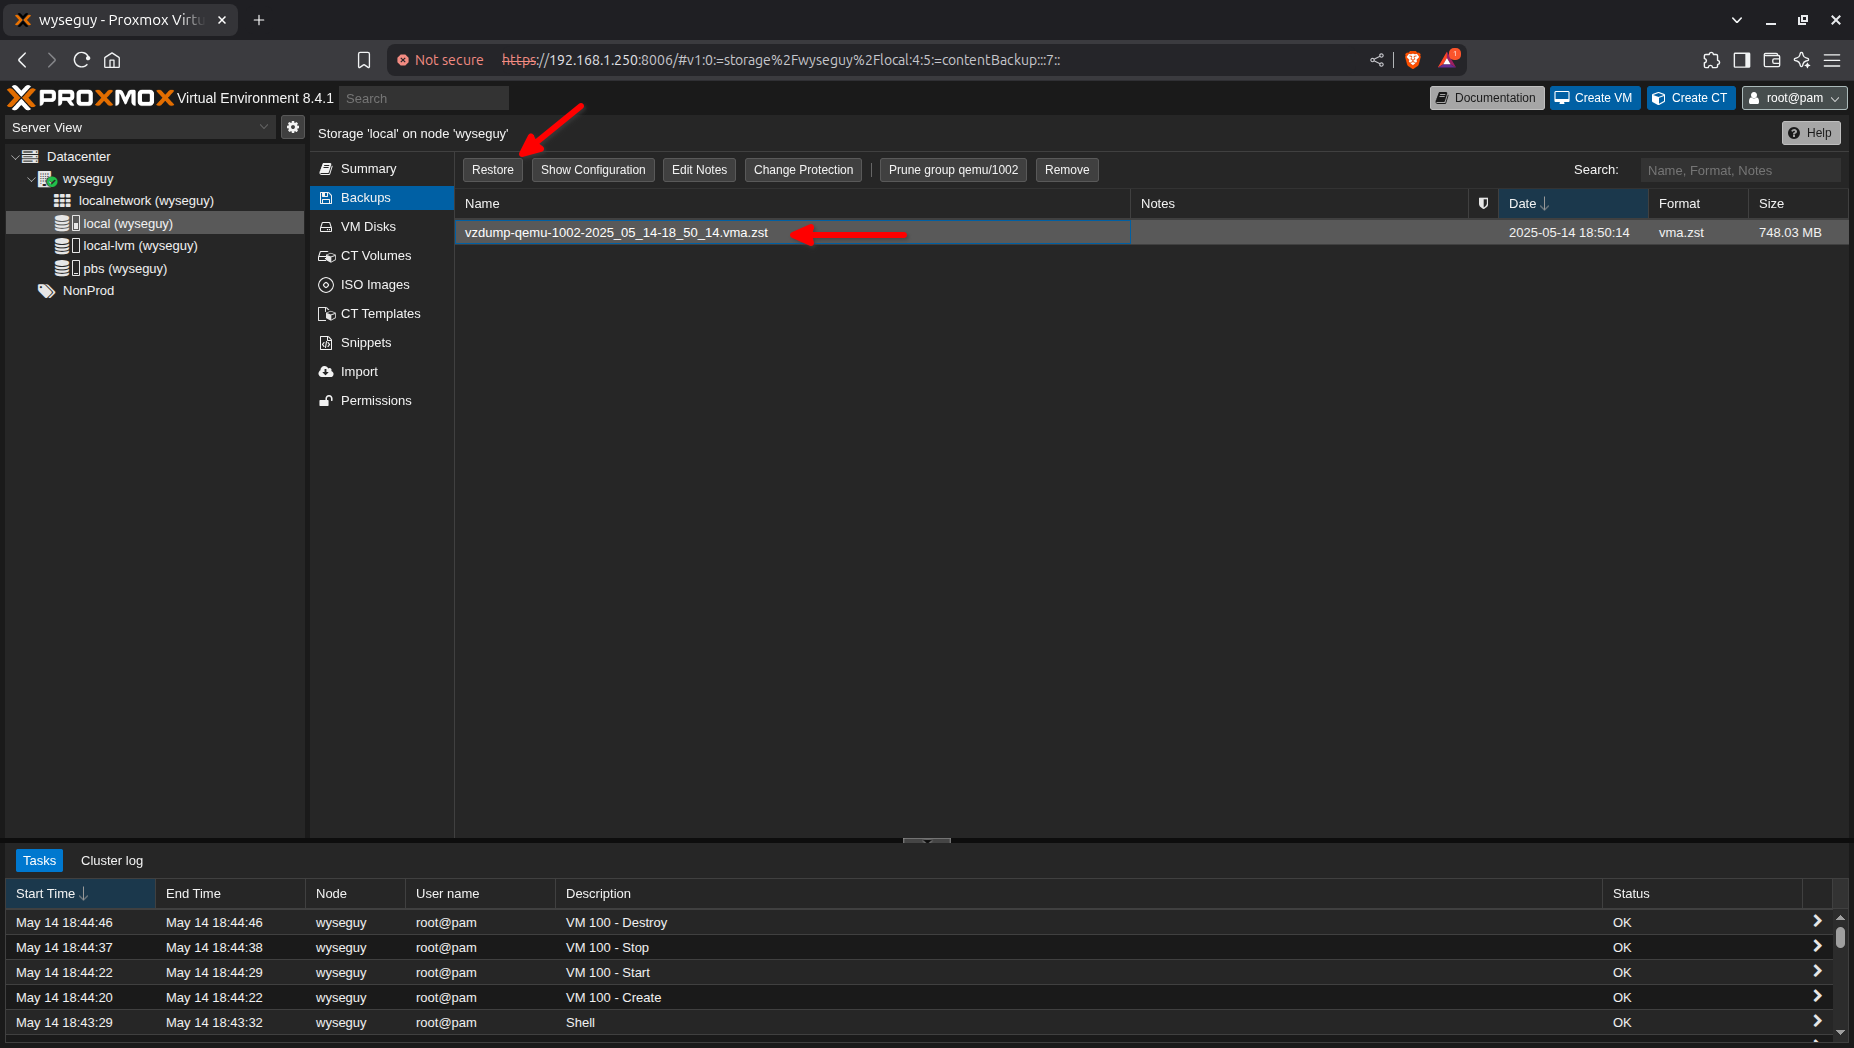
8. Verify the Backup on the New Host
Once the transfer is complete, go to WyseGuy, navigate to Local storage, and select the Backups tab. You should now see the newly imported backup listed.

9. Select the Backup and Restore
Click on the backup (highlighted in the image below), then click the Restore button.
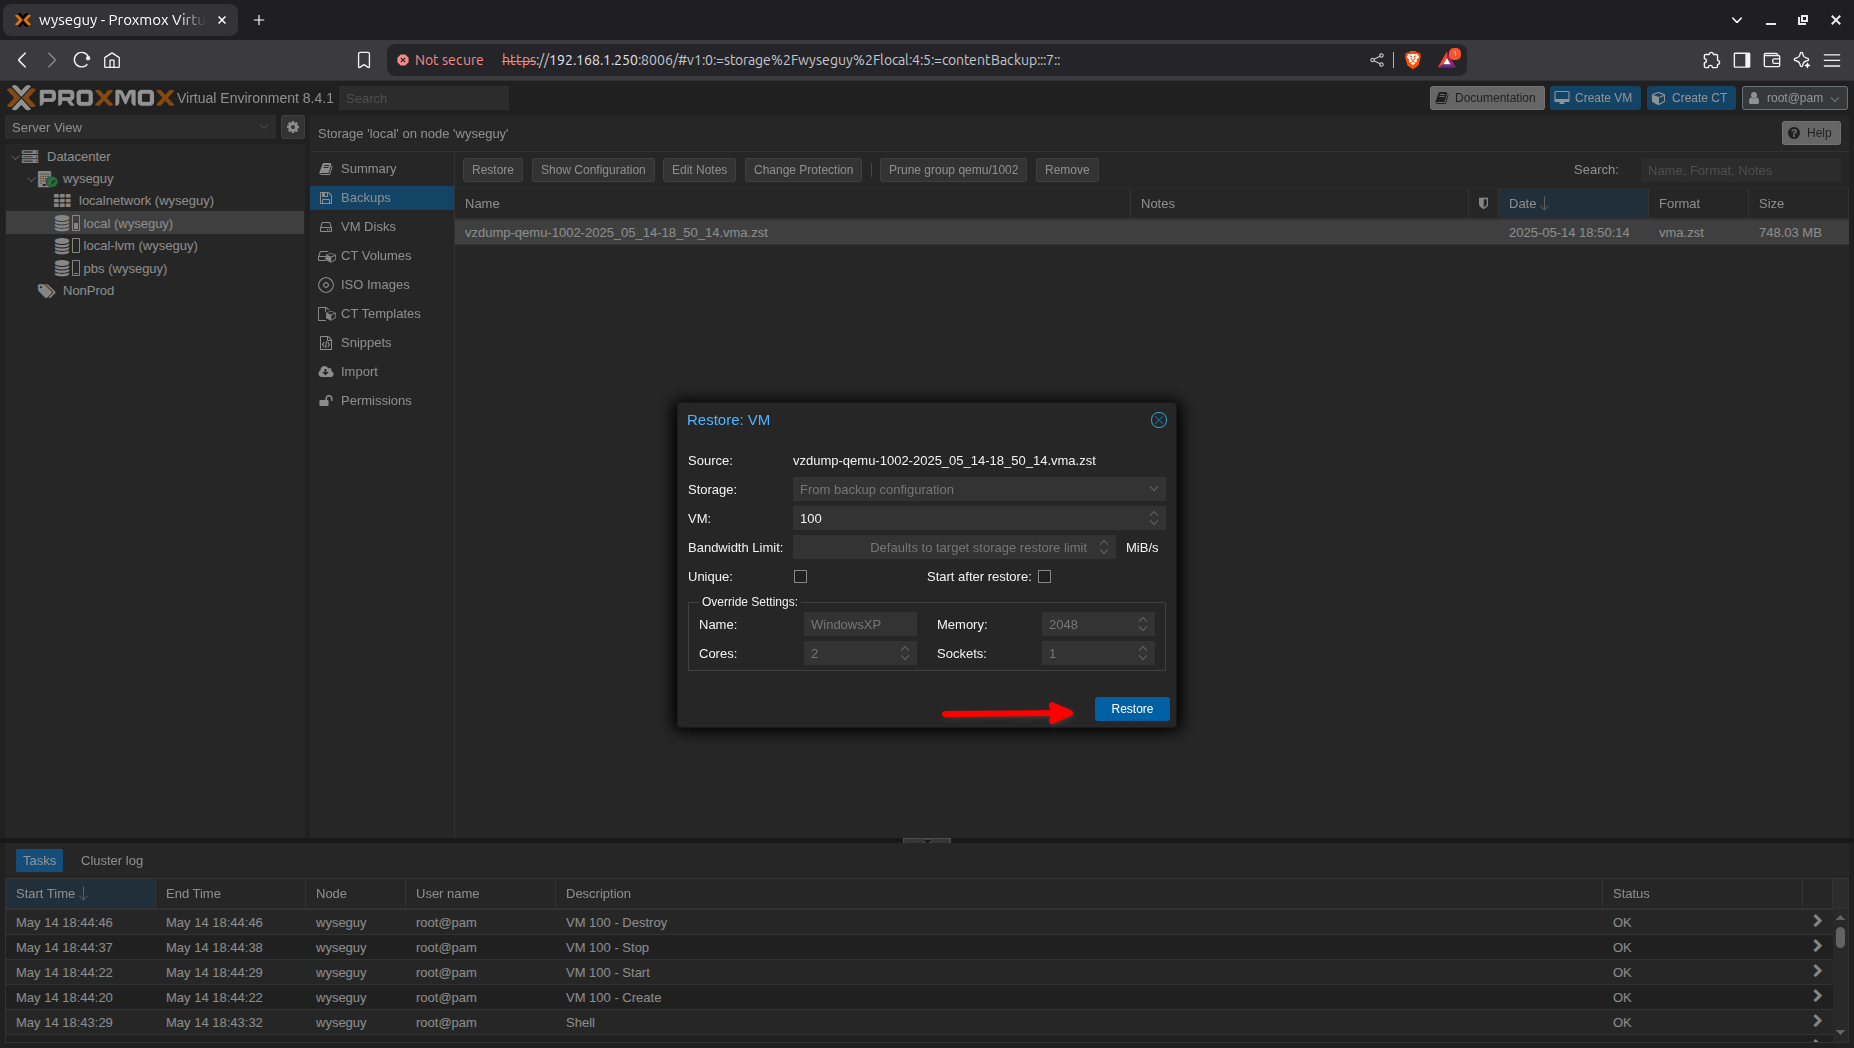
10. Confirm Restore Settings
Leave all the default restore options as-is and click the blue Restore button.
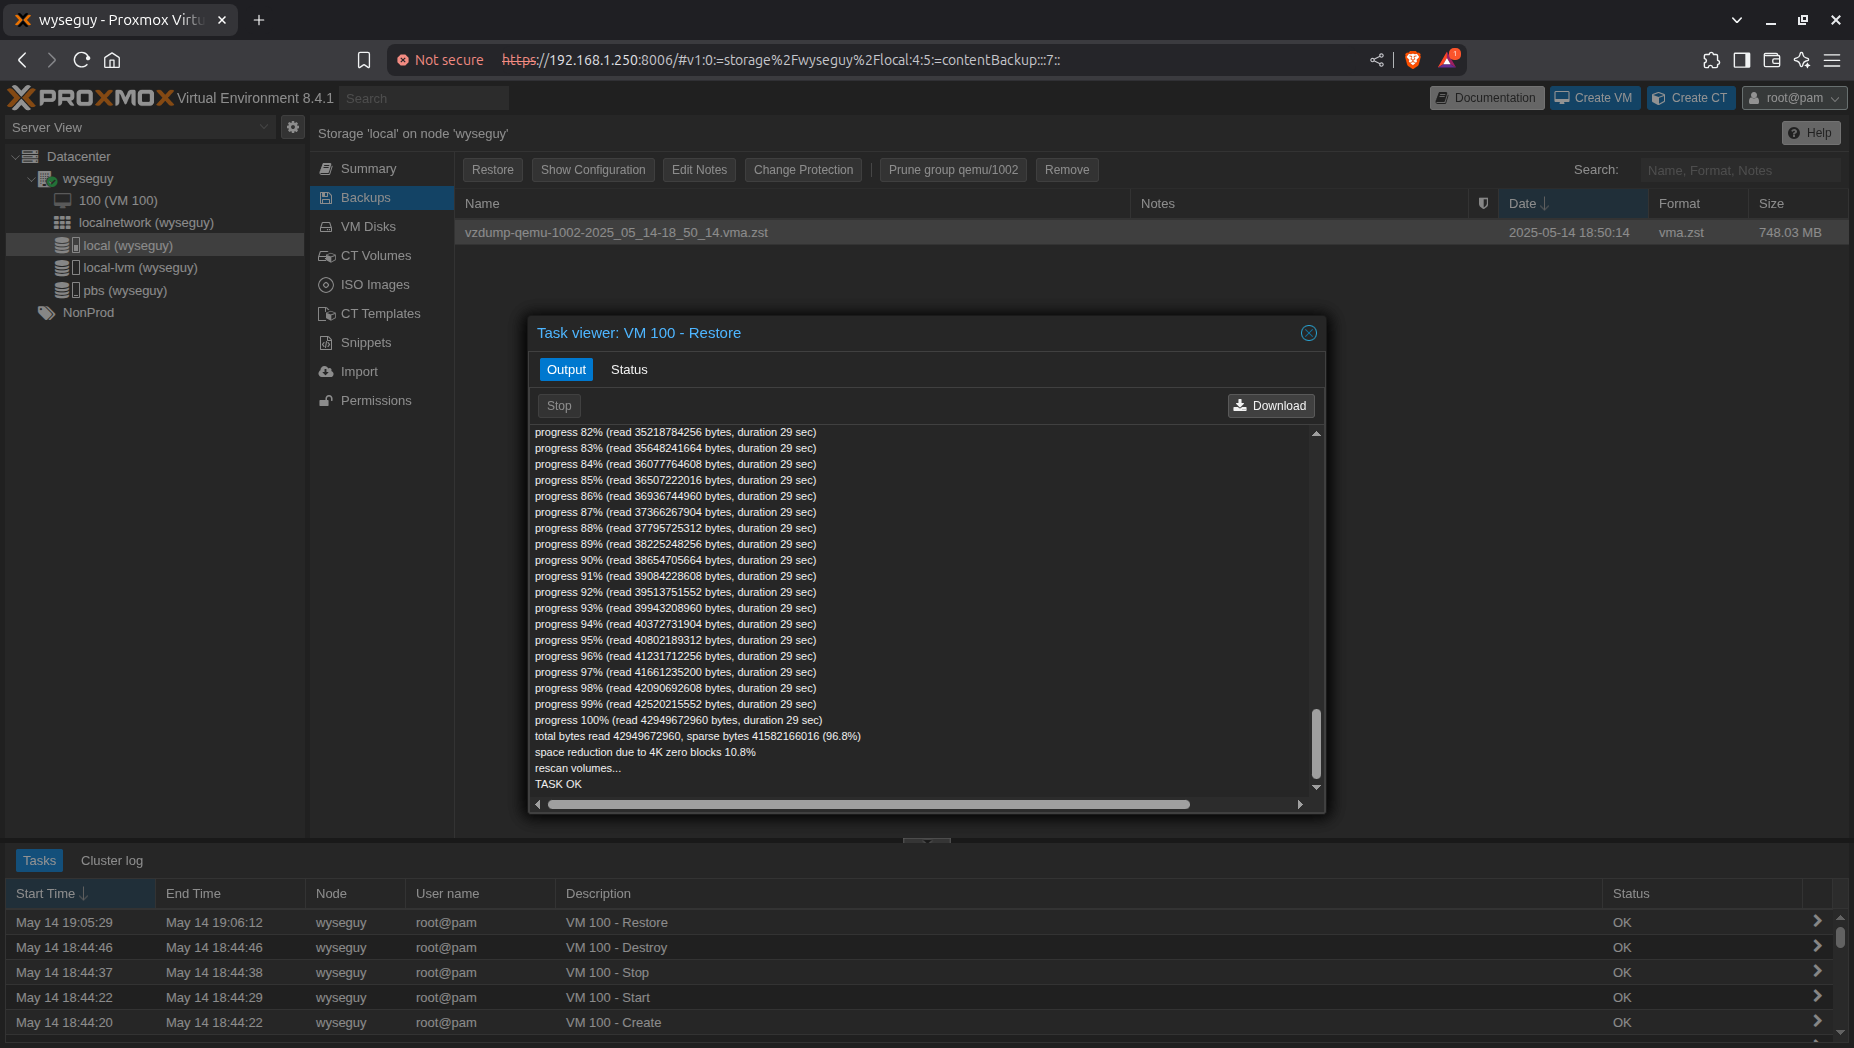
11. Monitor the Restore Process
A popup window will appear showing the progress of the restore process.
12. Start the Restored VM
After the restore completes, click on the newly restored VM and then click Start.
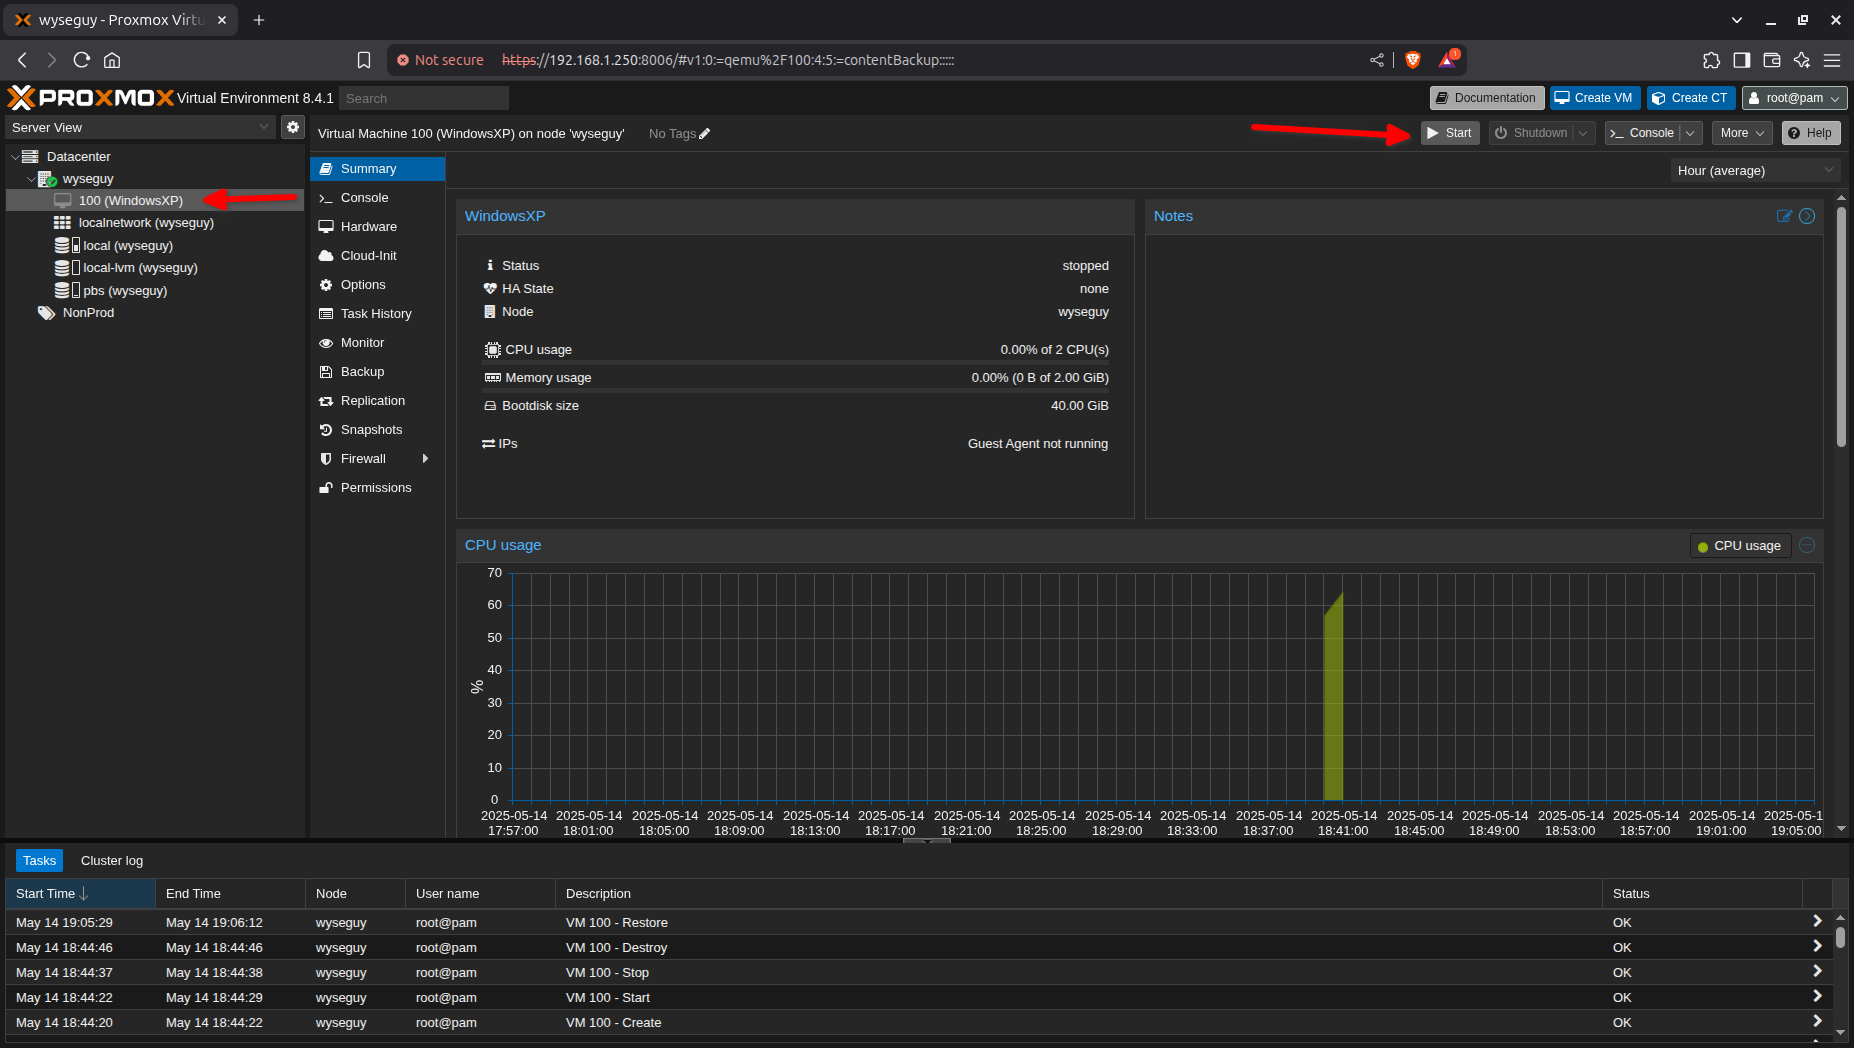
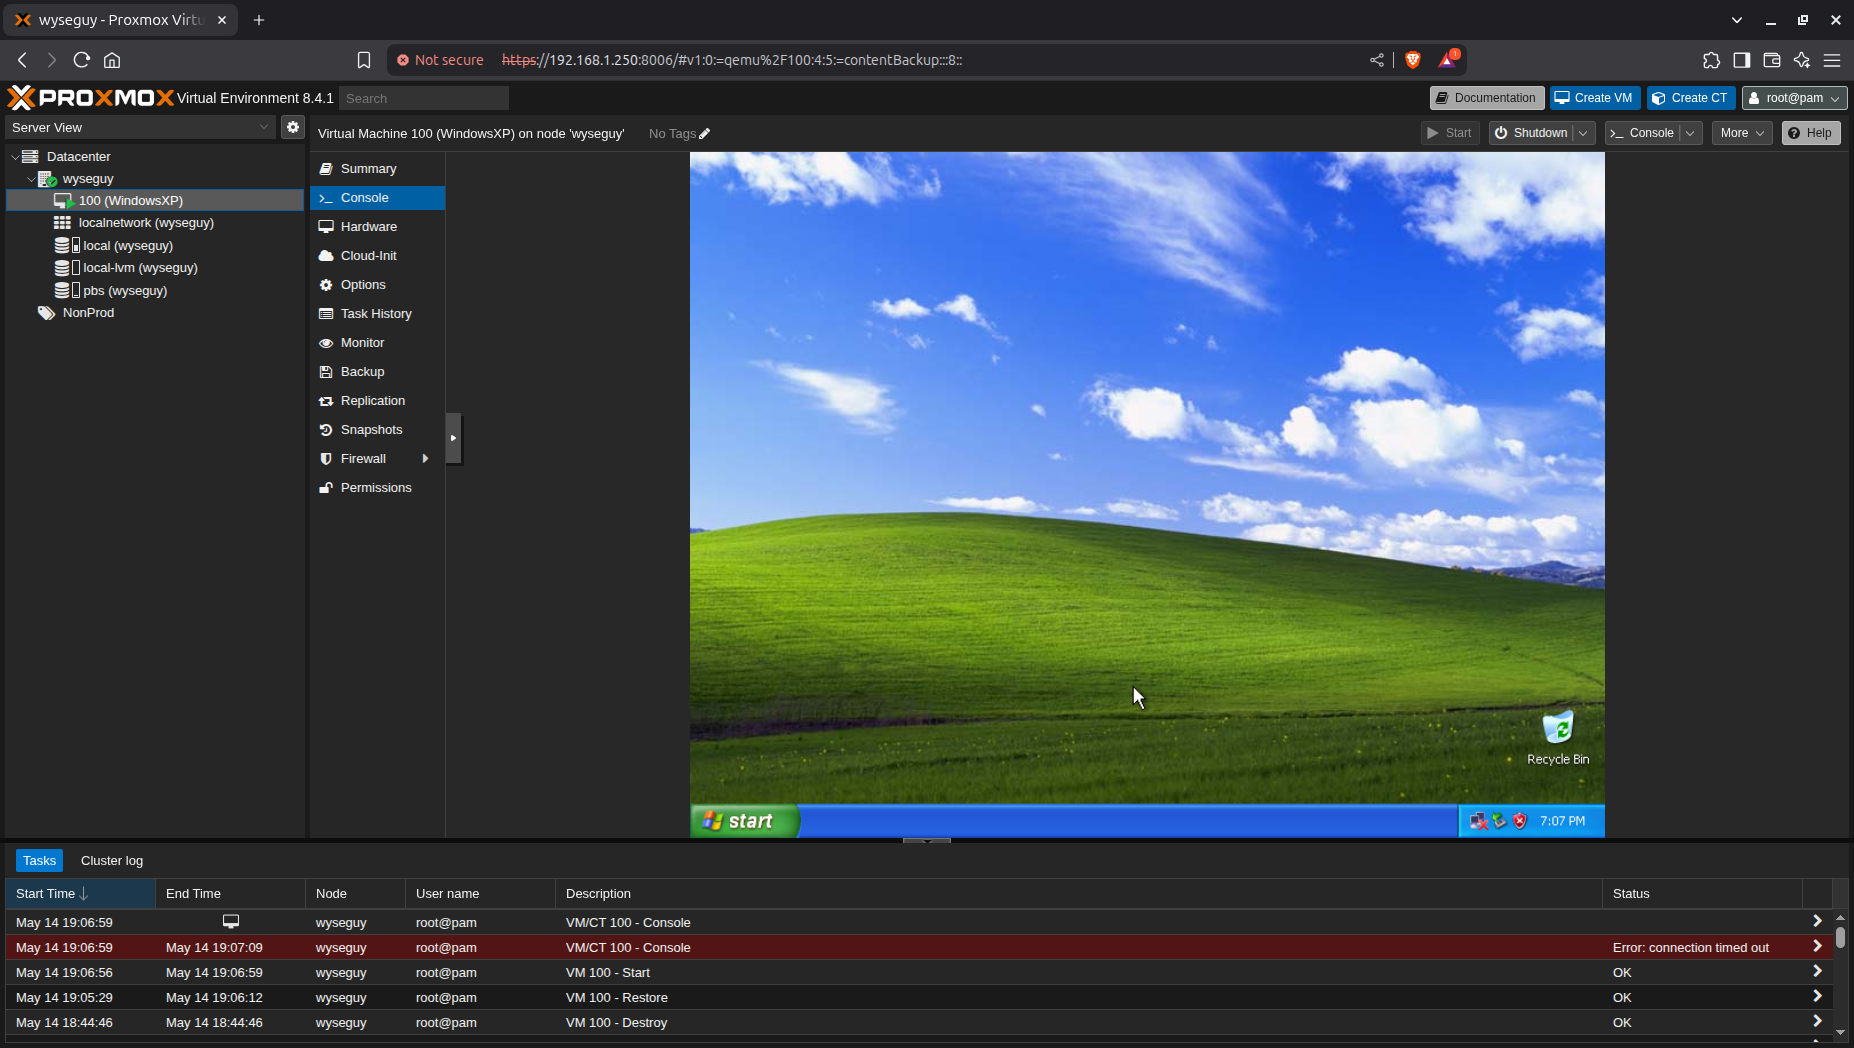
13. Confirm Everything Works
If everything went well, you should now have a fully functional Windows XP VM running on WyseGuy!