
Prequisites:
- Your Proxmox Virtualization Environment (PVE) host must be running PVE 8.4 or later
- A guest VM running windows server 2025 without any of the Virtio drivers or QEMU-Guest-Agent installed
Creating the local folder on your PVE host that will be shared with the guest VM.
-
In the Server View on the left side of the PVE WebUI, select the host you’d like to share to the guest VM using virtiofs. In this example, we will be using “wyseguy”. After you’ve selected your host, click on the “Shell” tab in the node menu. The terminal will open.
-
Lets add the directory and some content to the new test directory so we can validate that mapping is successful. The following commands will make our directory, change directory to our new folder, and create a test text file:
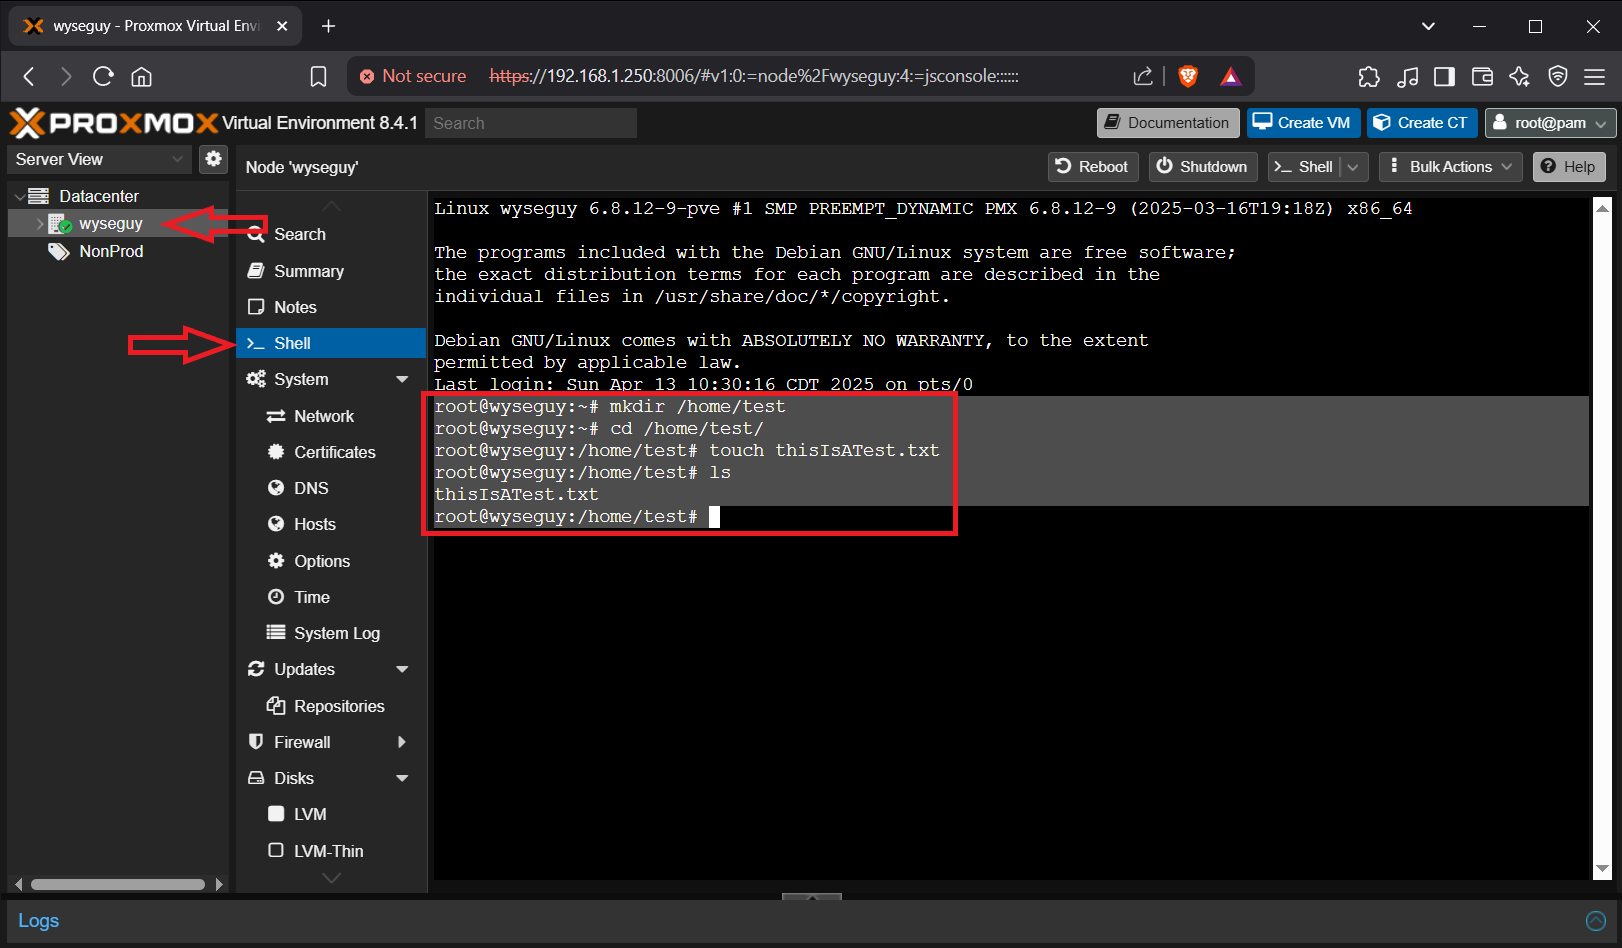
mkdir /home/test
cd /home/test
touch thisIsATest.txt
ls
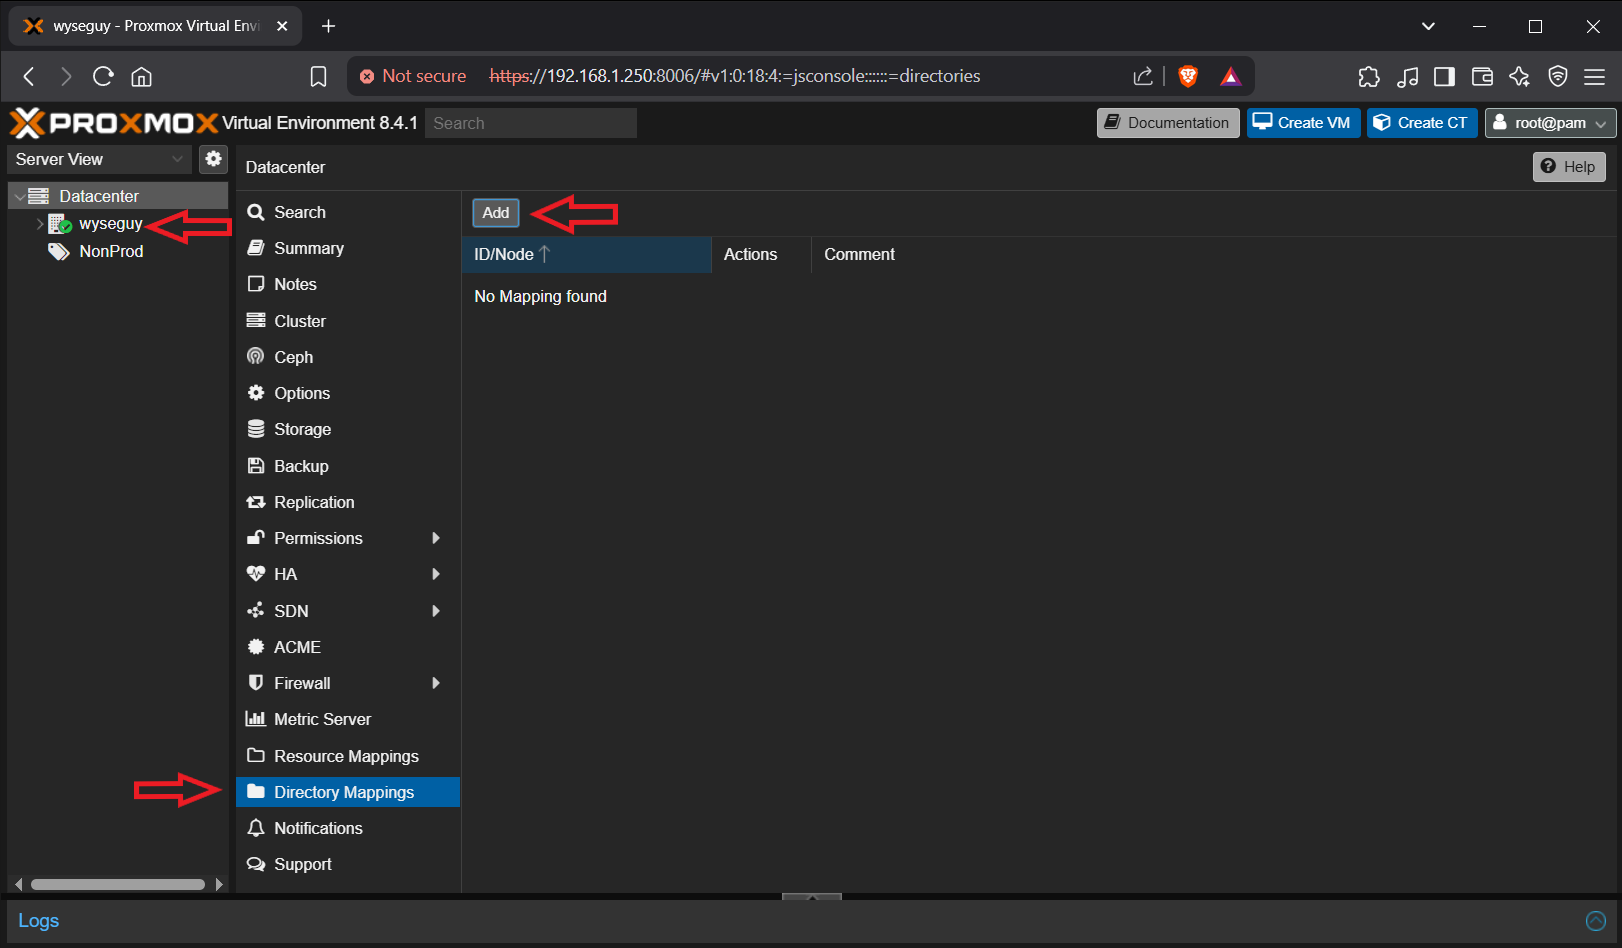
Creating the directory mappings
- In the server view on the left side of the PVE WebUI, select the “Datacenter” object. In the Datacenter menu, select “Directory Mappings”, you may need to scroll down or collapse other menu items to see it. At the top of the “Directory Mappings” menu, click on the “Add” button at the top of the PVE WebUI. A new window will open within the browser.
- Here we will fill out the following information, make sure the node you select matches the node you created the directory in the previous step.
Name: Test
Path: /home/test
Node: wyseguy
Comment: This is to test the functionality of virtiofs for Windows Server 2025
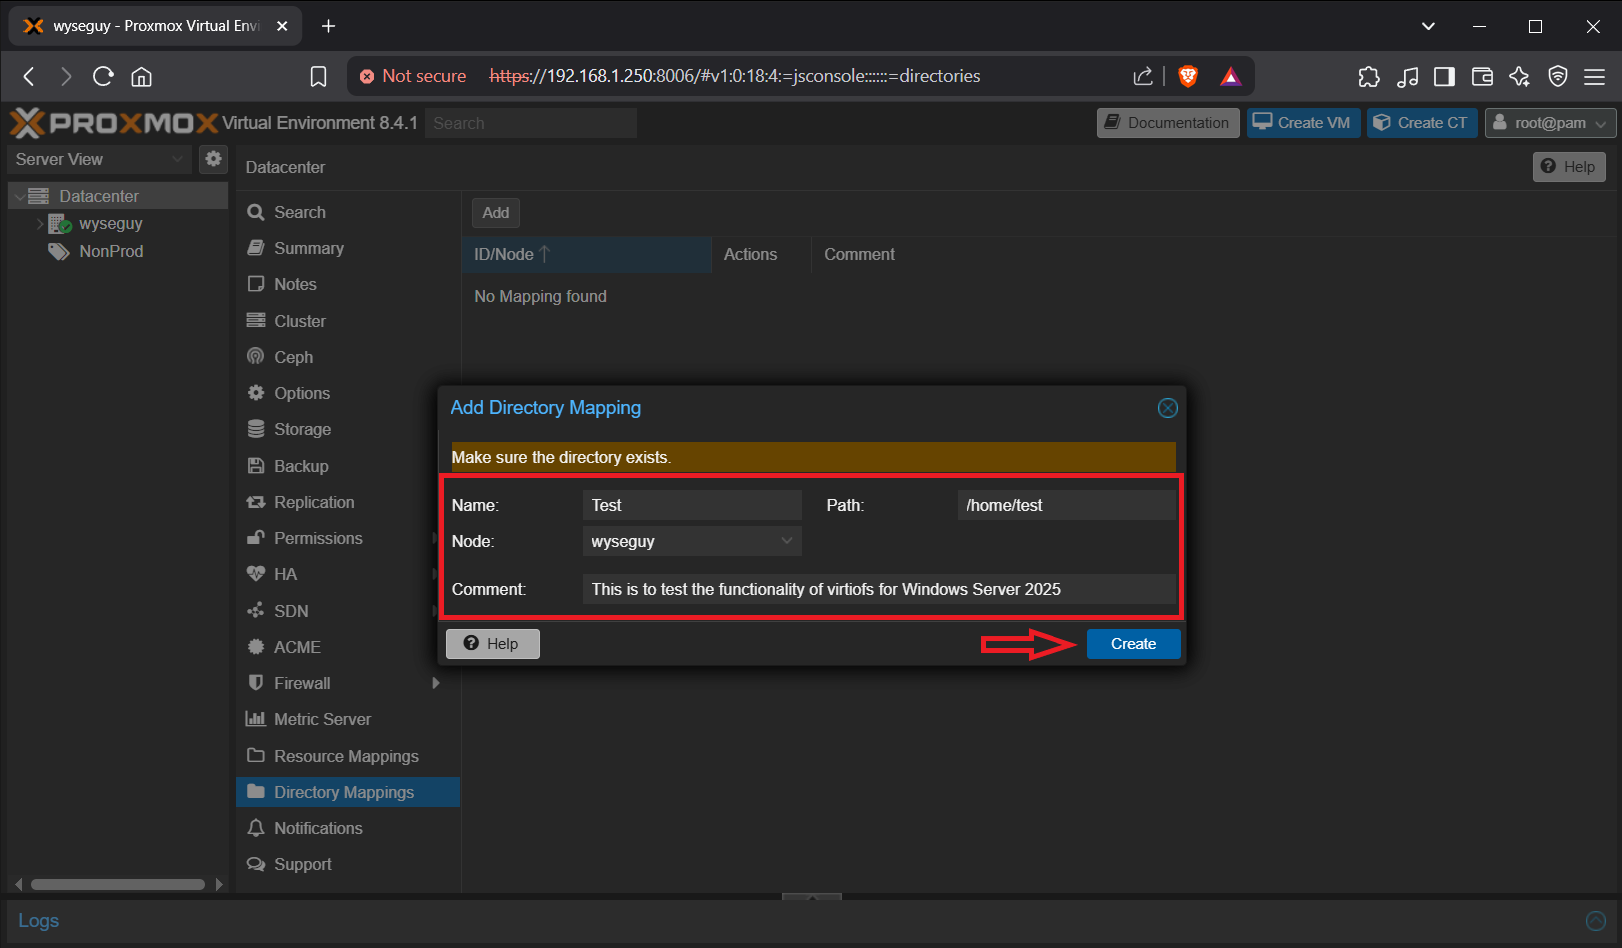
Then you can click the “Create” button.
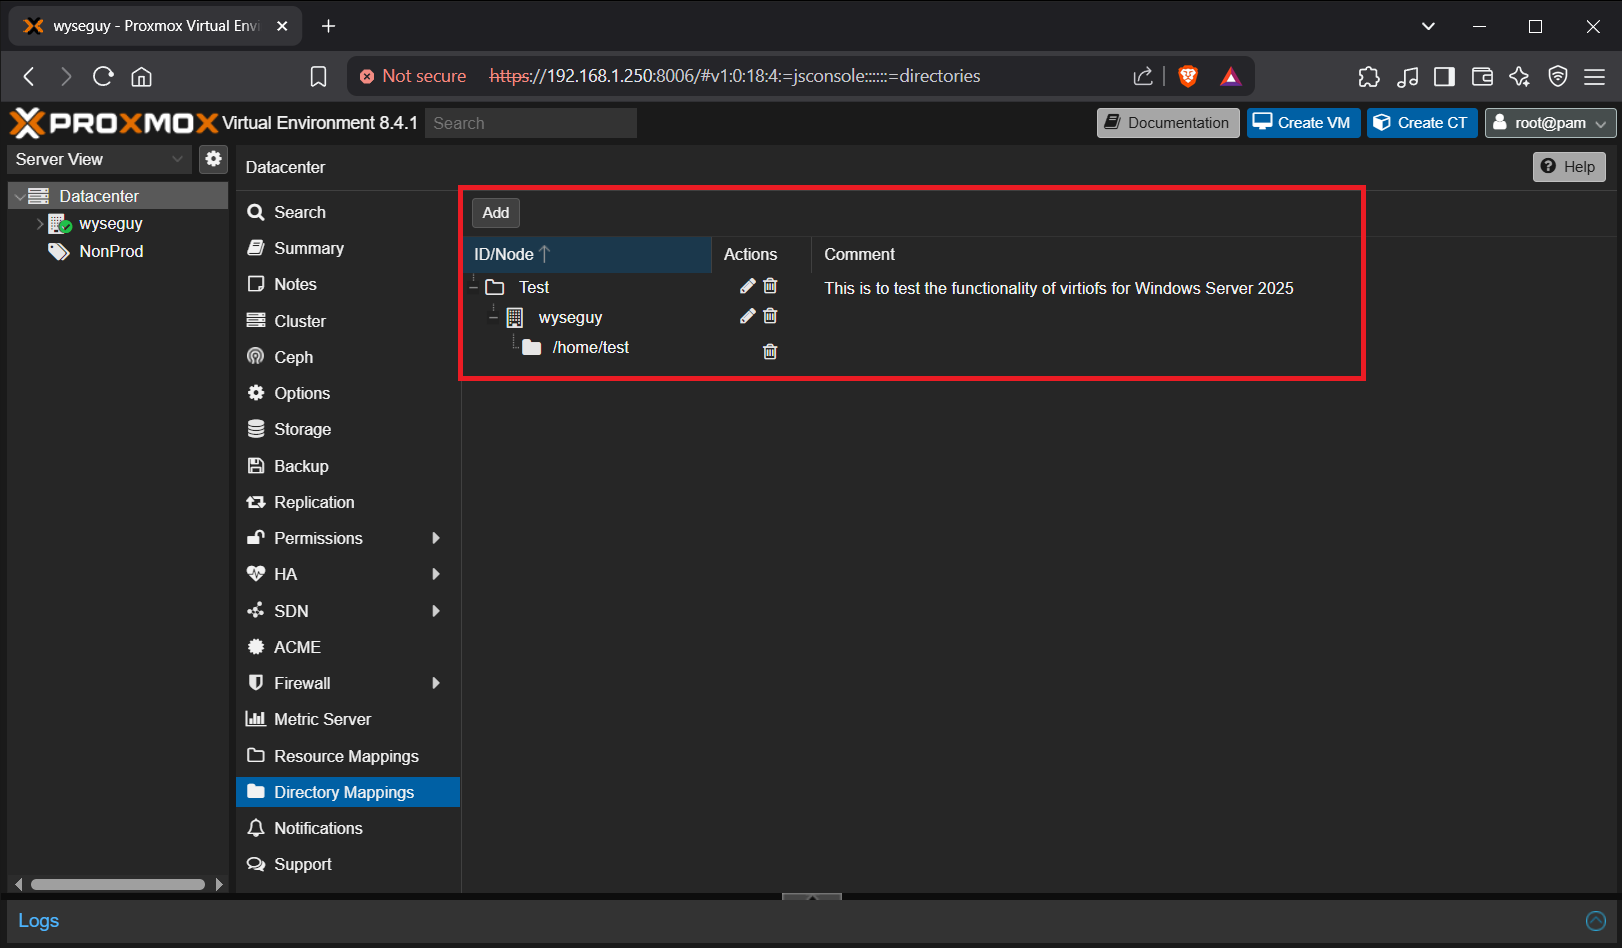
- In the “Directory Mappings” menu, you should see your new mapping created.
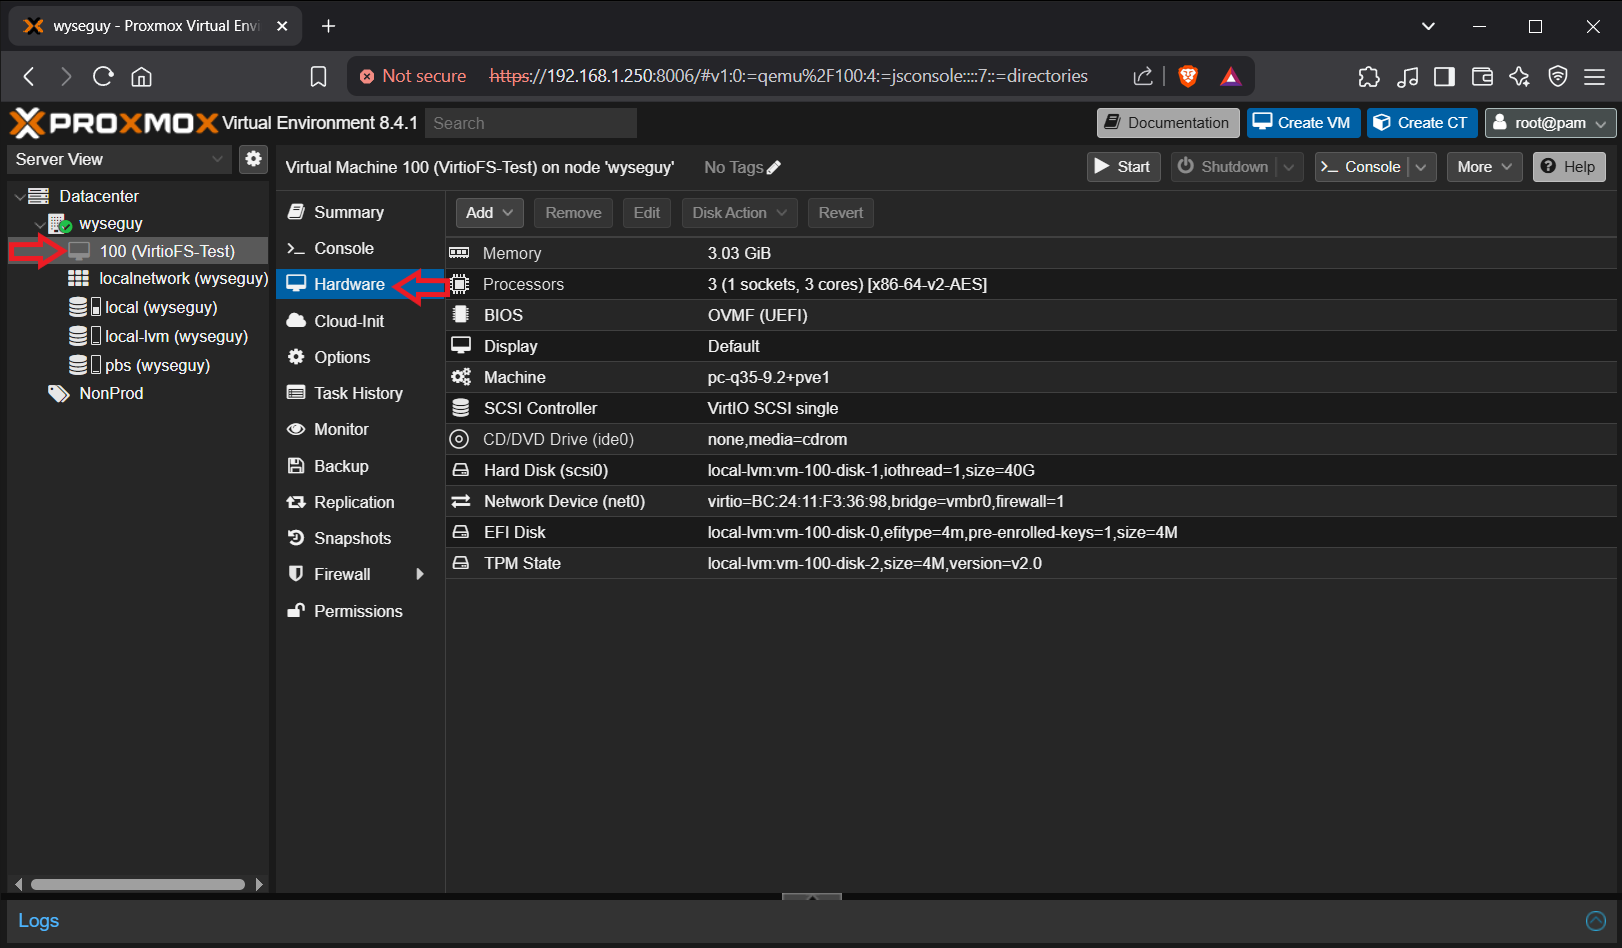
Configuring the guest VM hardware to accept the directory mapping
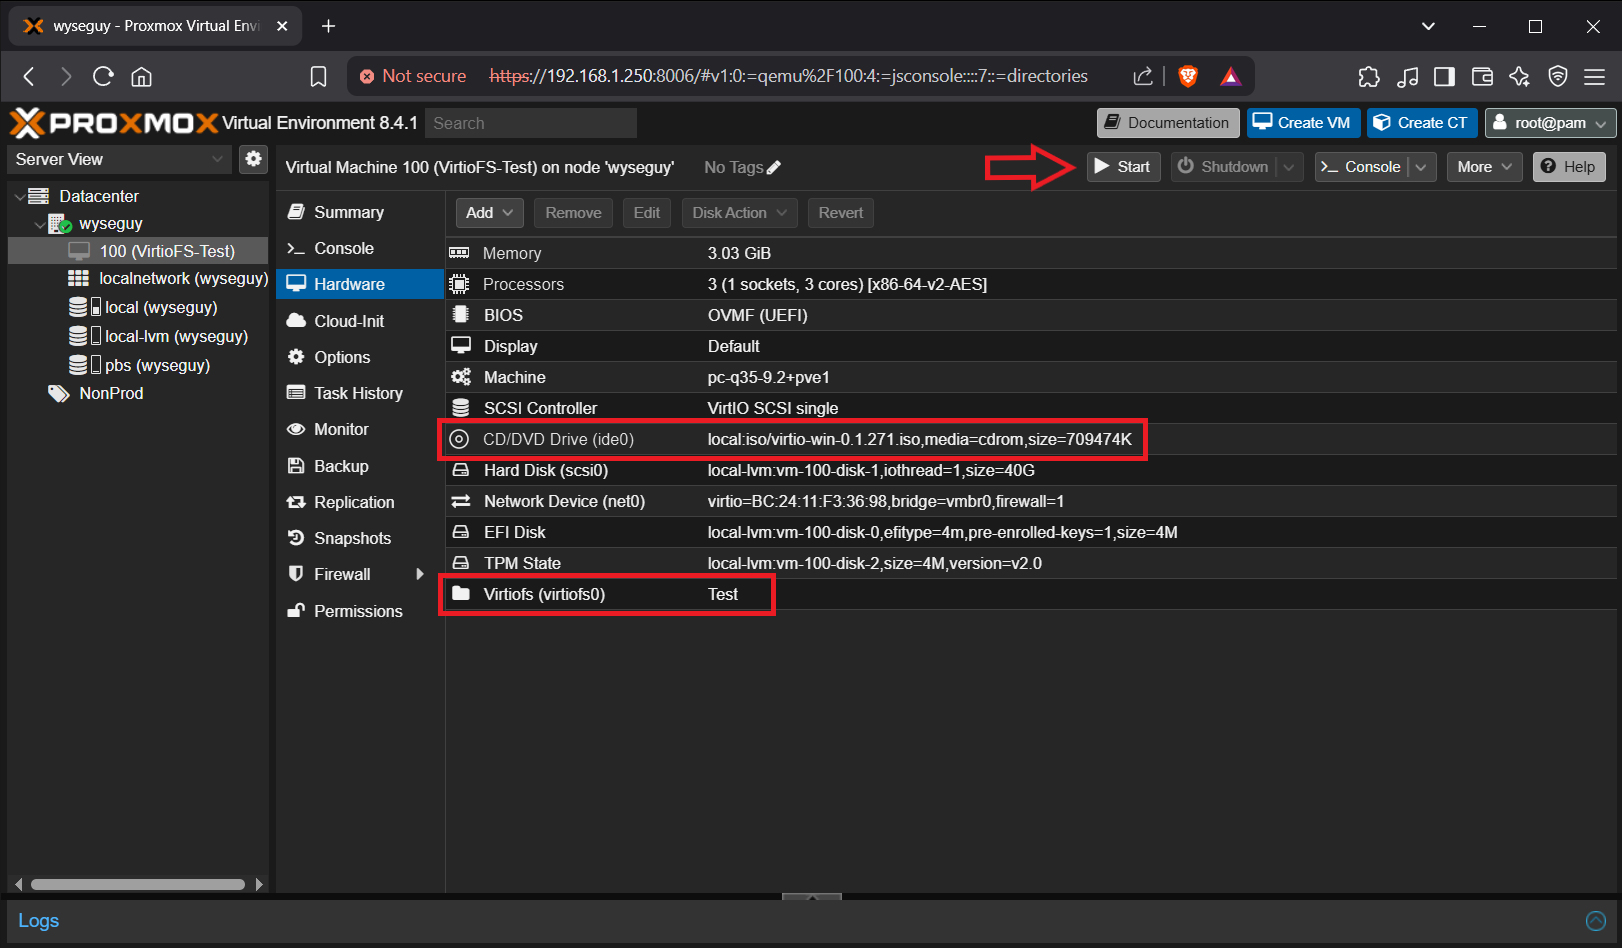
- In the Server View, Click on your guest VM that has Windows Server 2025 already installed and ensure that it is powered down. In this example, we will navigate to “VirtioFS-Test” and navigate to the “Hardware” menu.
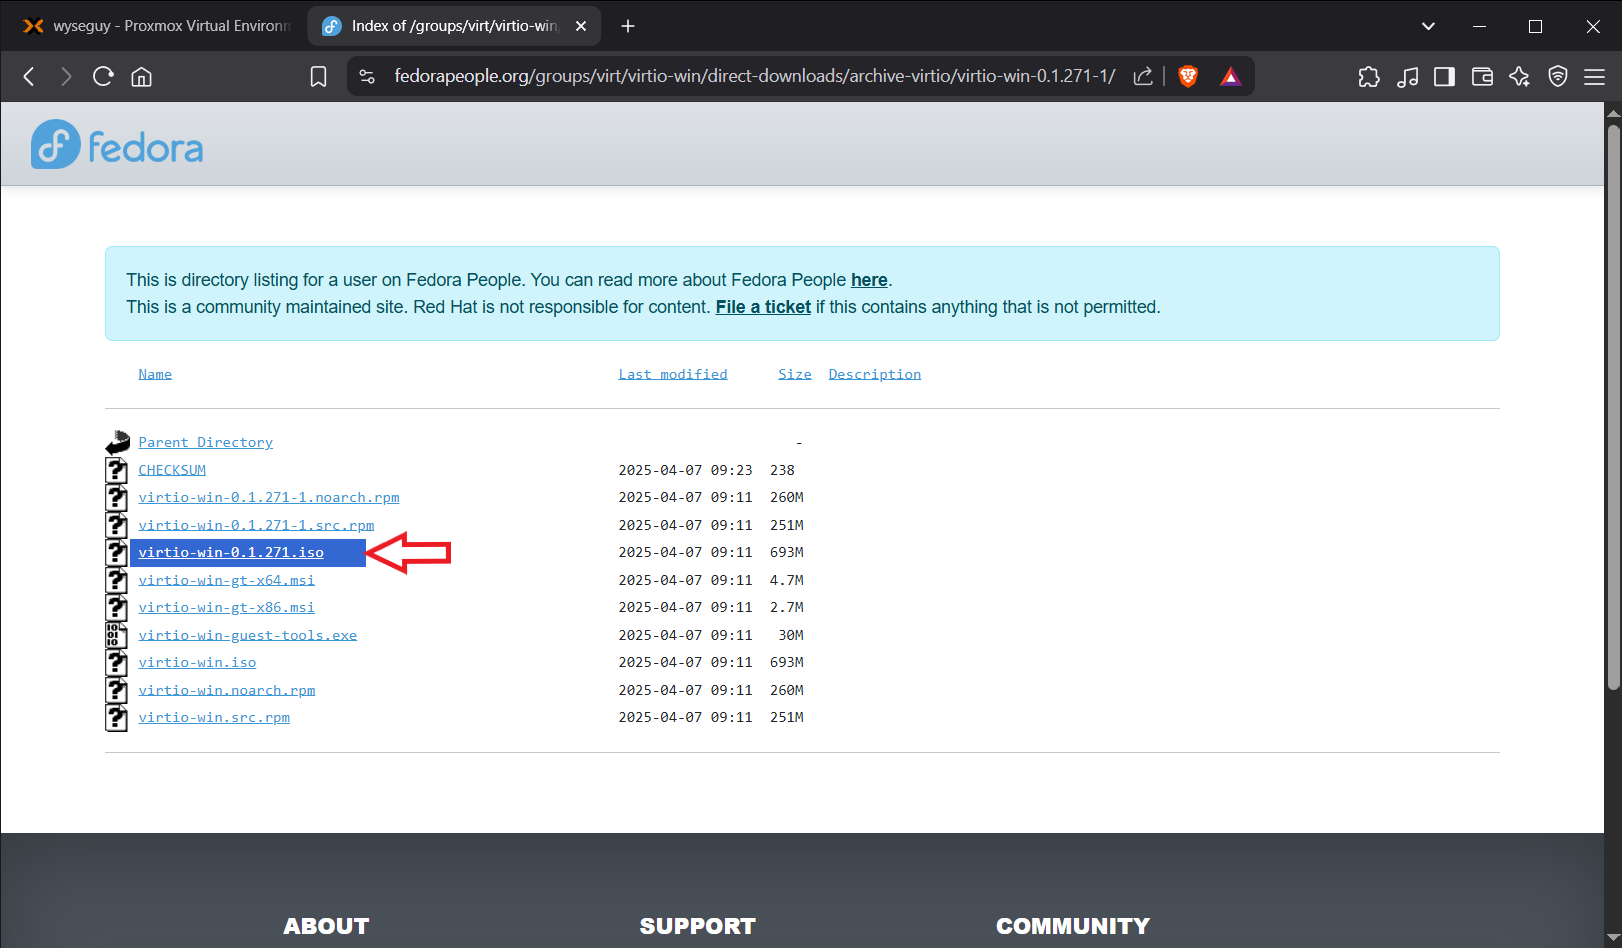
- In the “CD/DVD Drive” make sure you have the ISO for a virtio version that supports Windows Server 2025 mounted. For this example, we’re using “virtio-win-0.1.271.iso” which can be found at:
https://fedorapeople.org/groups/virt/virtio-win/direct-downloads/archive-virtio/virtio-win-0.1.271-1/
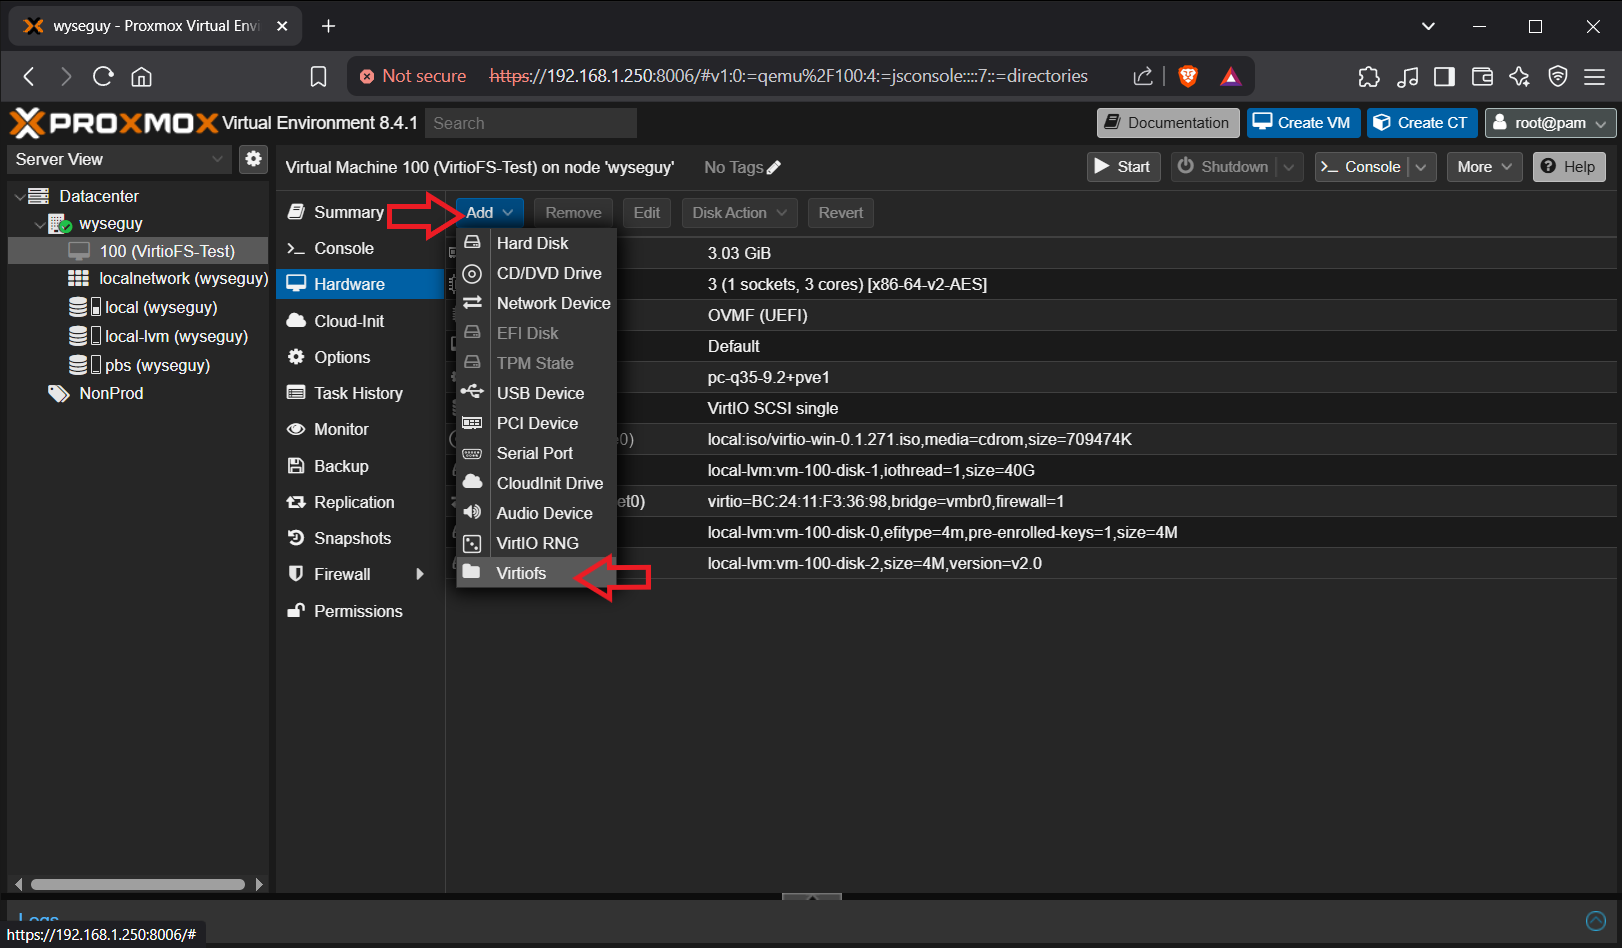
- While in the guest VM hardware menu, click the “Add” button and select “Virtiofs”.
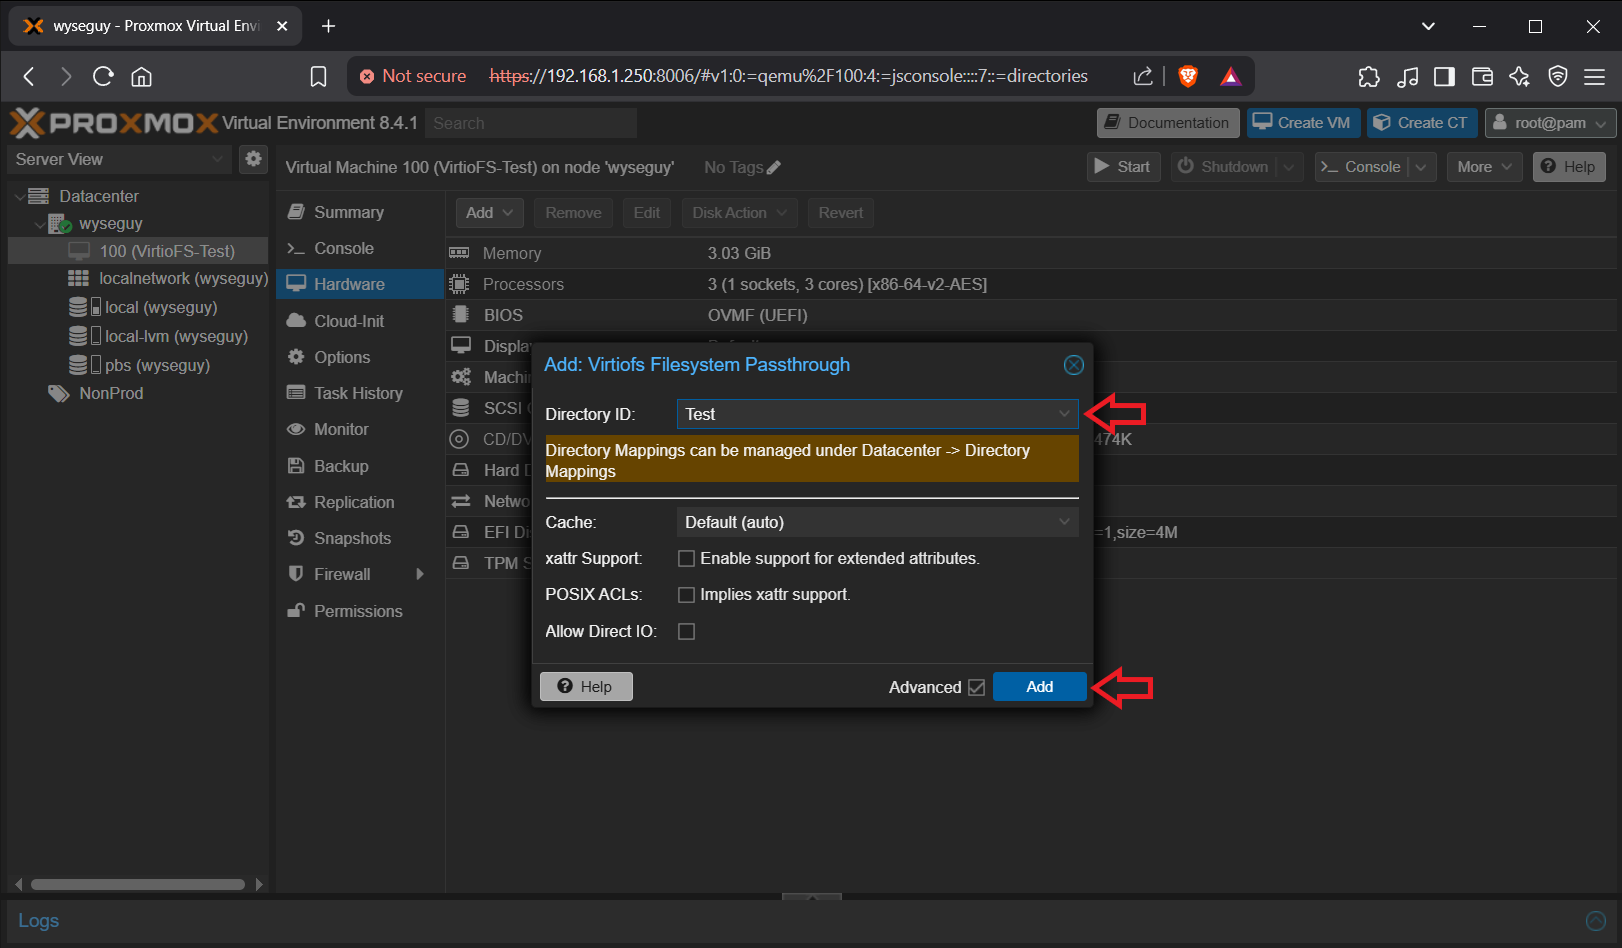
- In the new window that pops up, expand the drop down menu for the “Directory ID” field and select the ID that we created in the previous steps. Then click the “Add” button.
- Validate that the following virtual hardware settings are correct and power on the “VirtioFS-Test” VM.
Installing the virtio drivers on the Windows Server 2025 VM
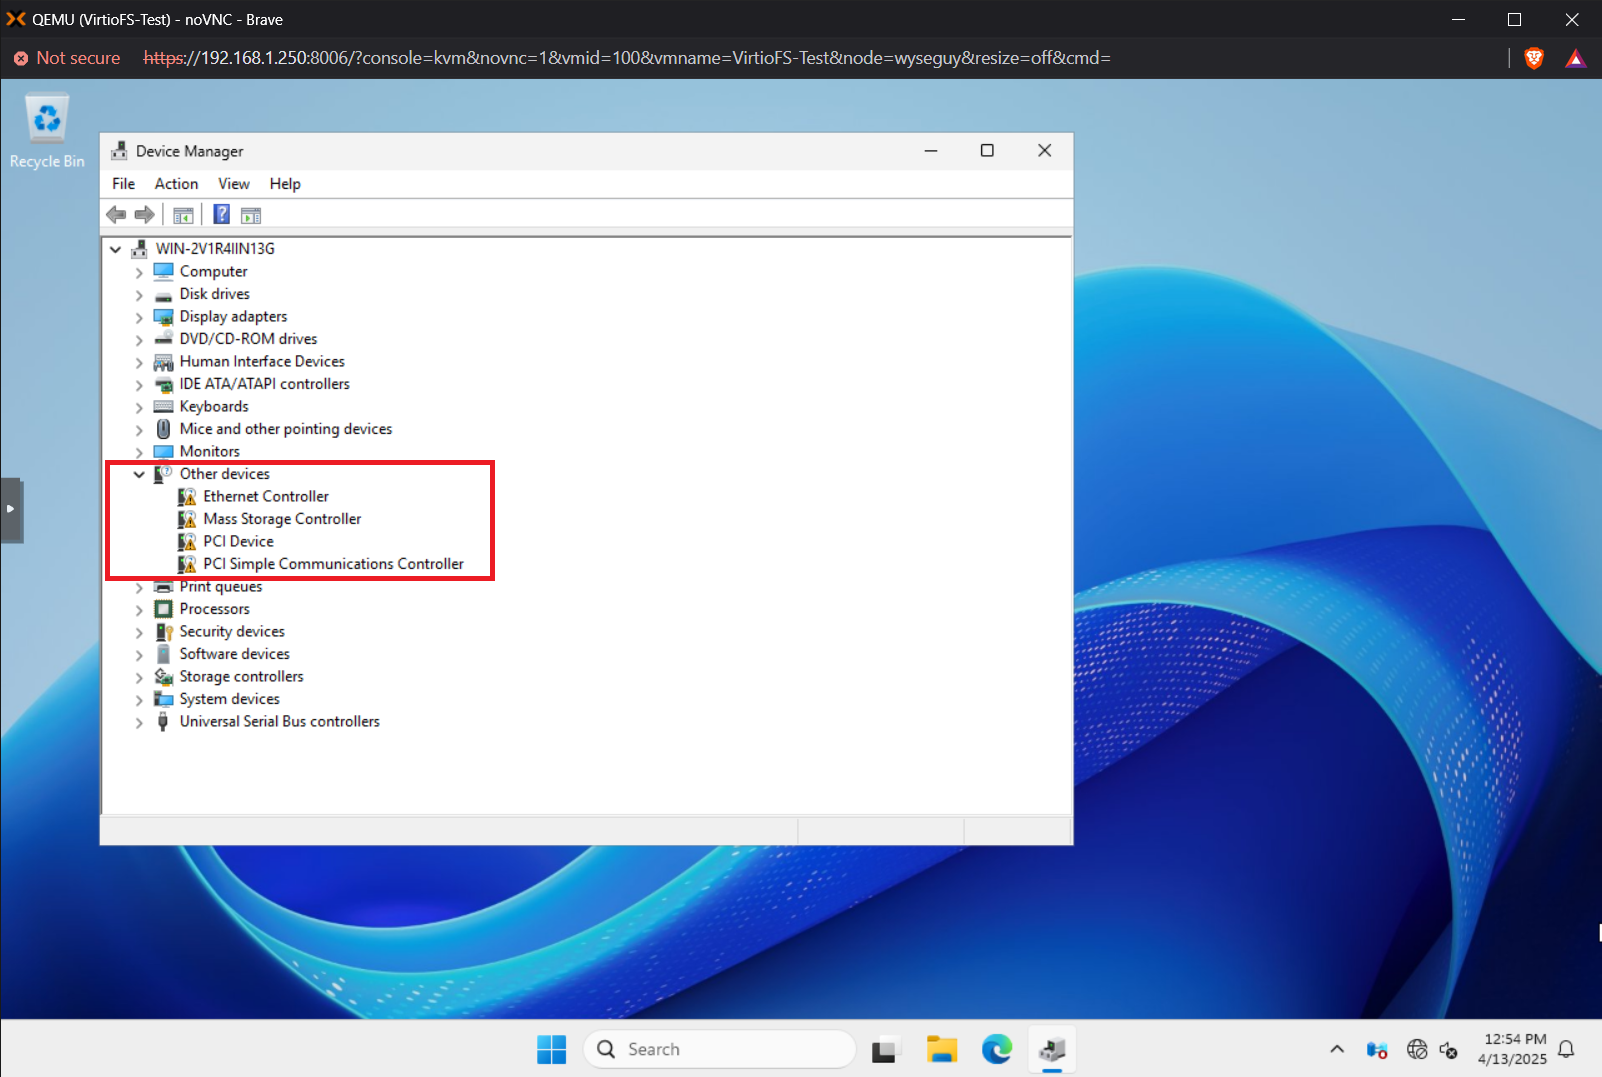
- Navigate to Windows Device Manager, you’ll notice some devices are missing drivers. You can launch it by running this command:
devmgmt.msc
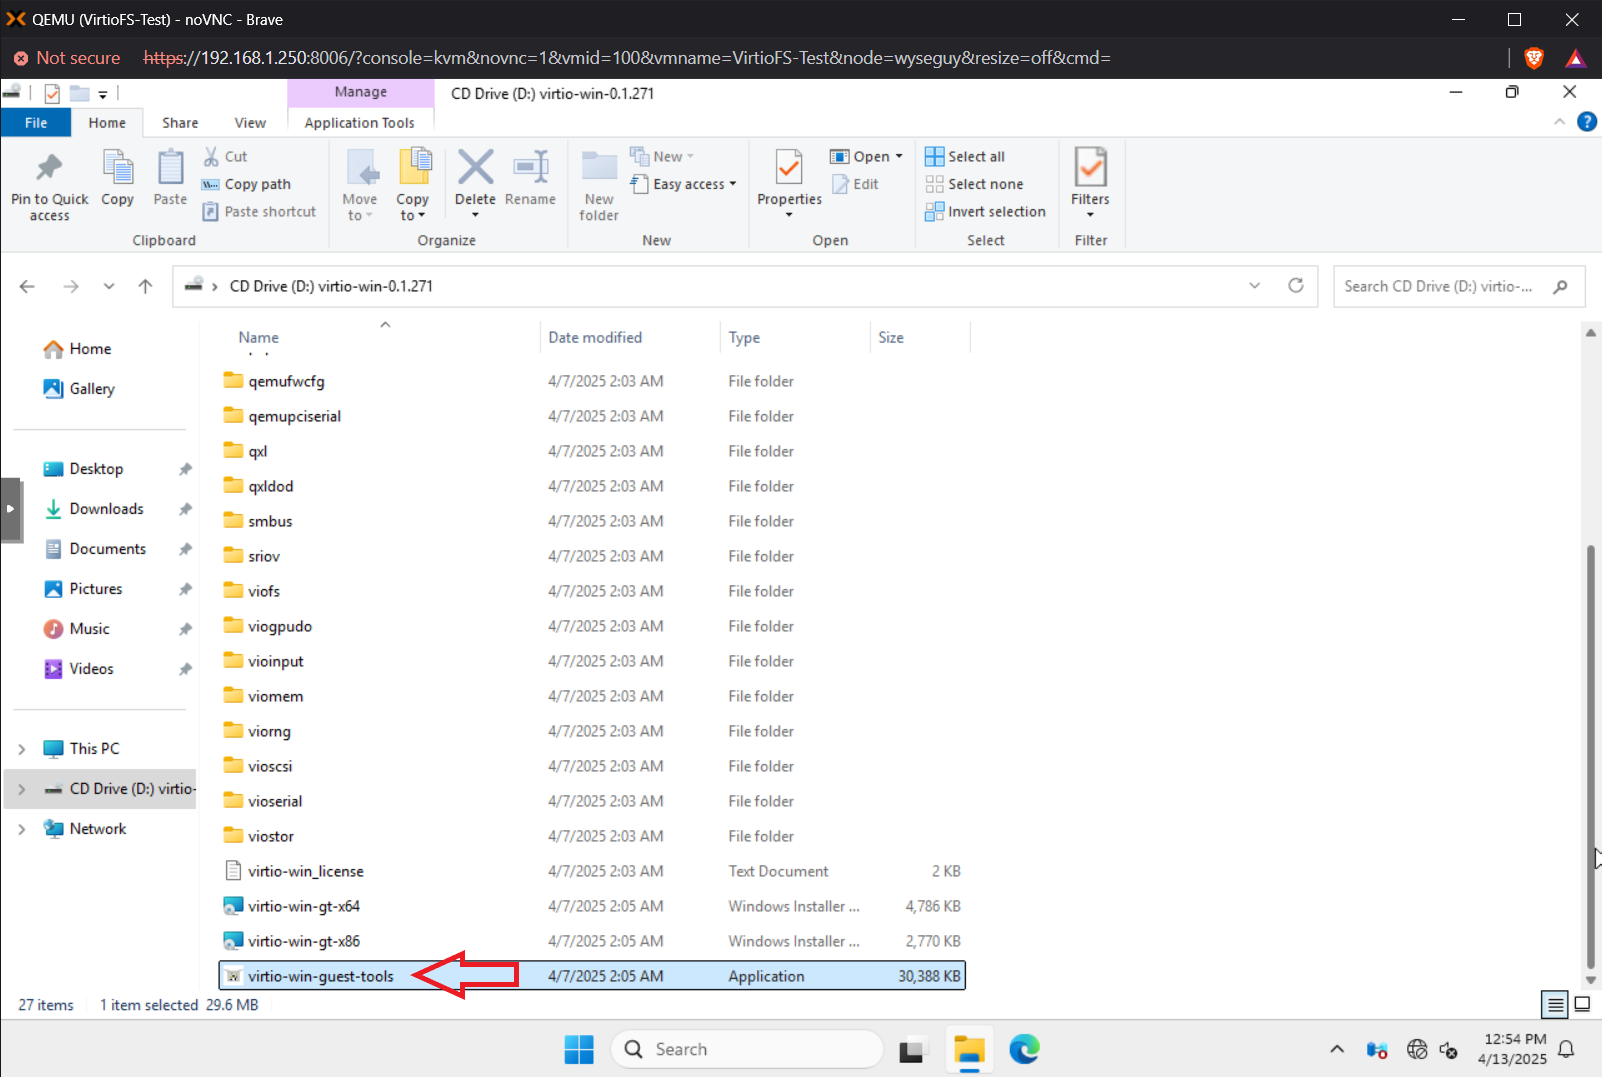
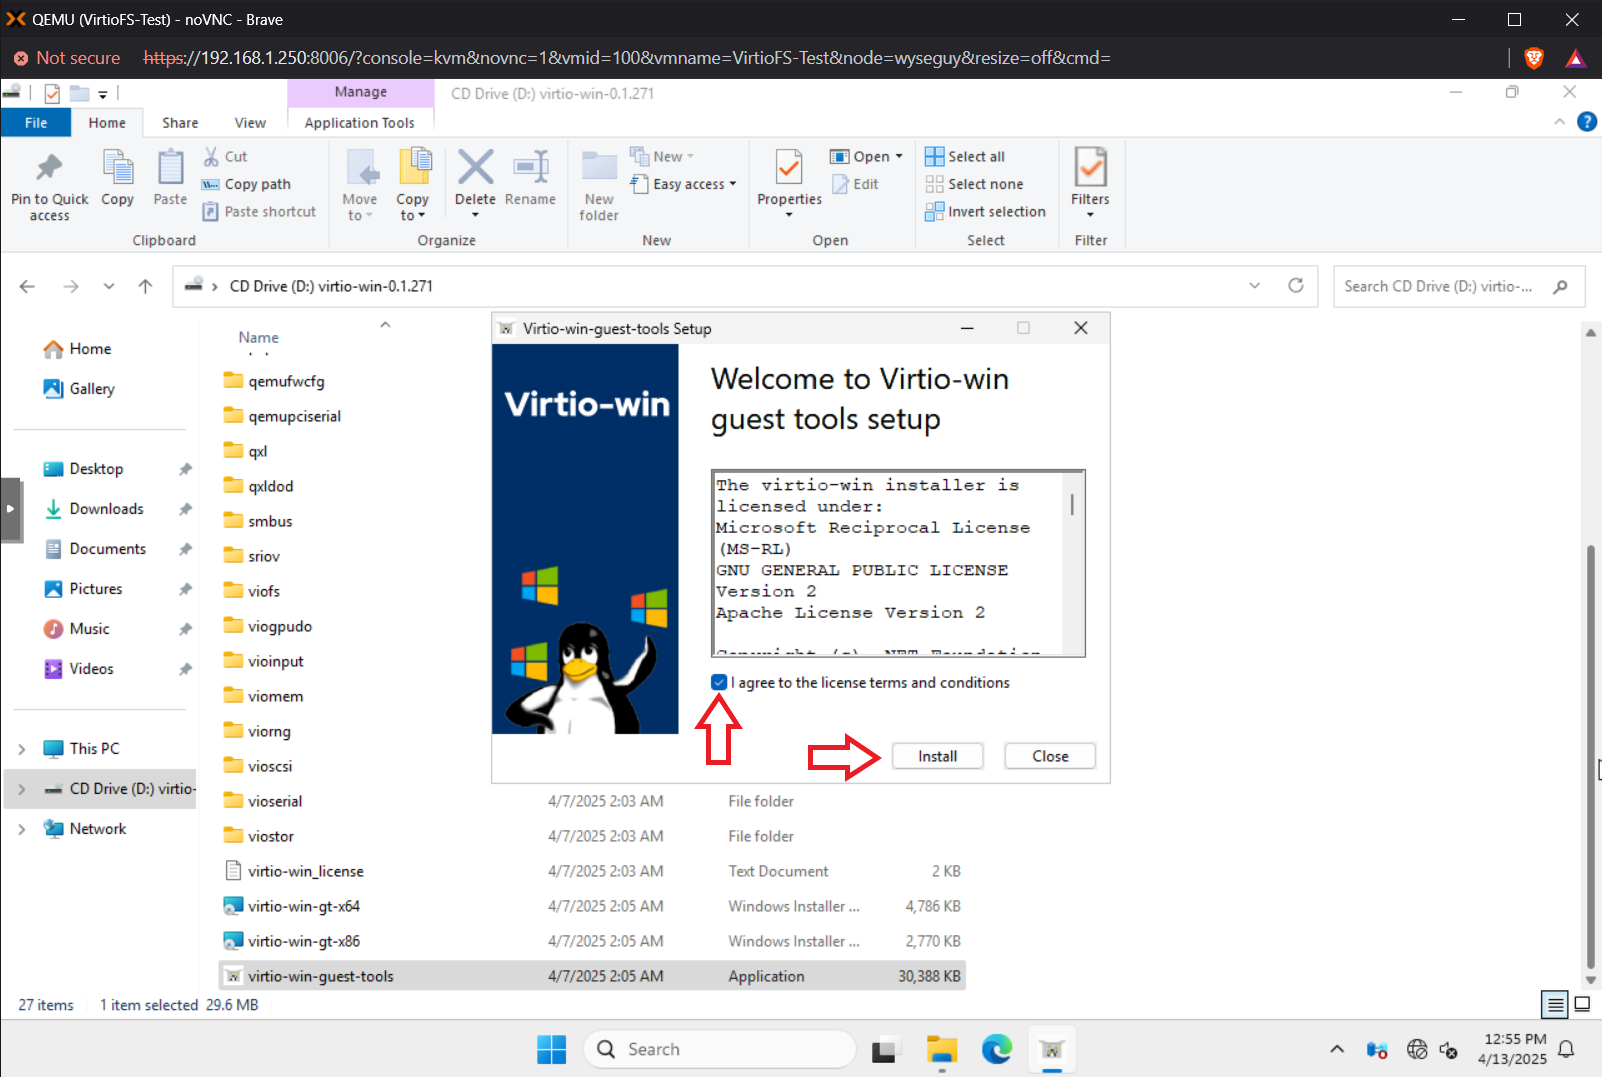
- Open your file explorer and navigate to the Virtio CD you imported in previous steps and launch “virtio-win-guest-tools.exe”
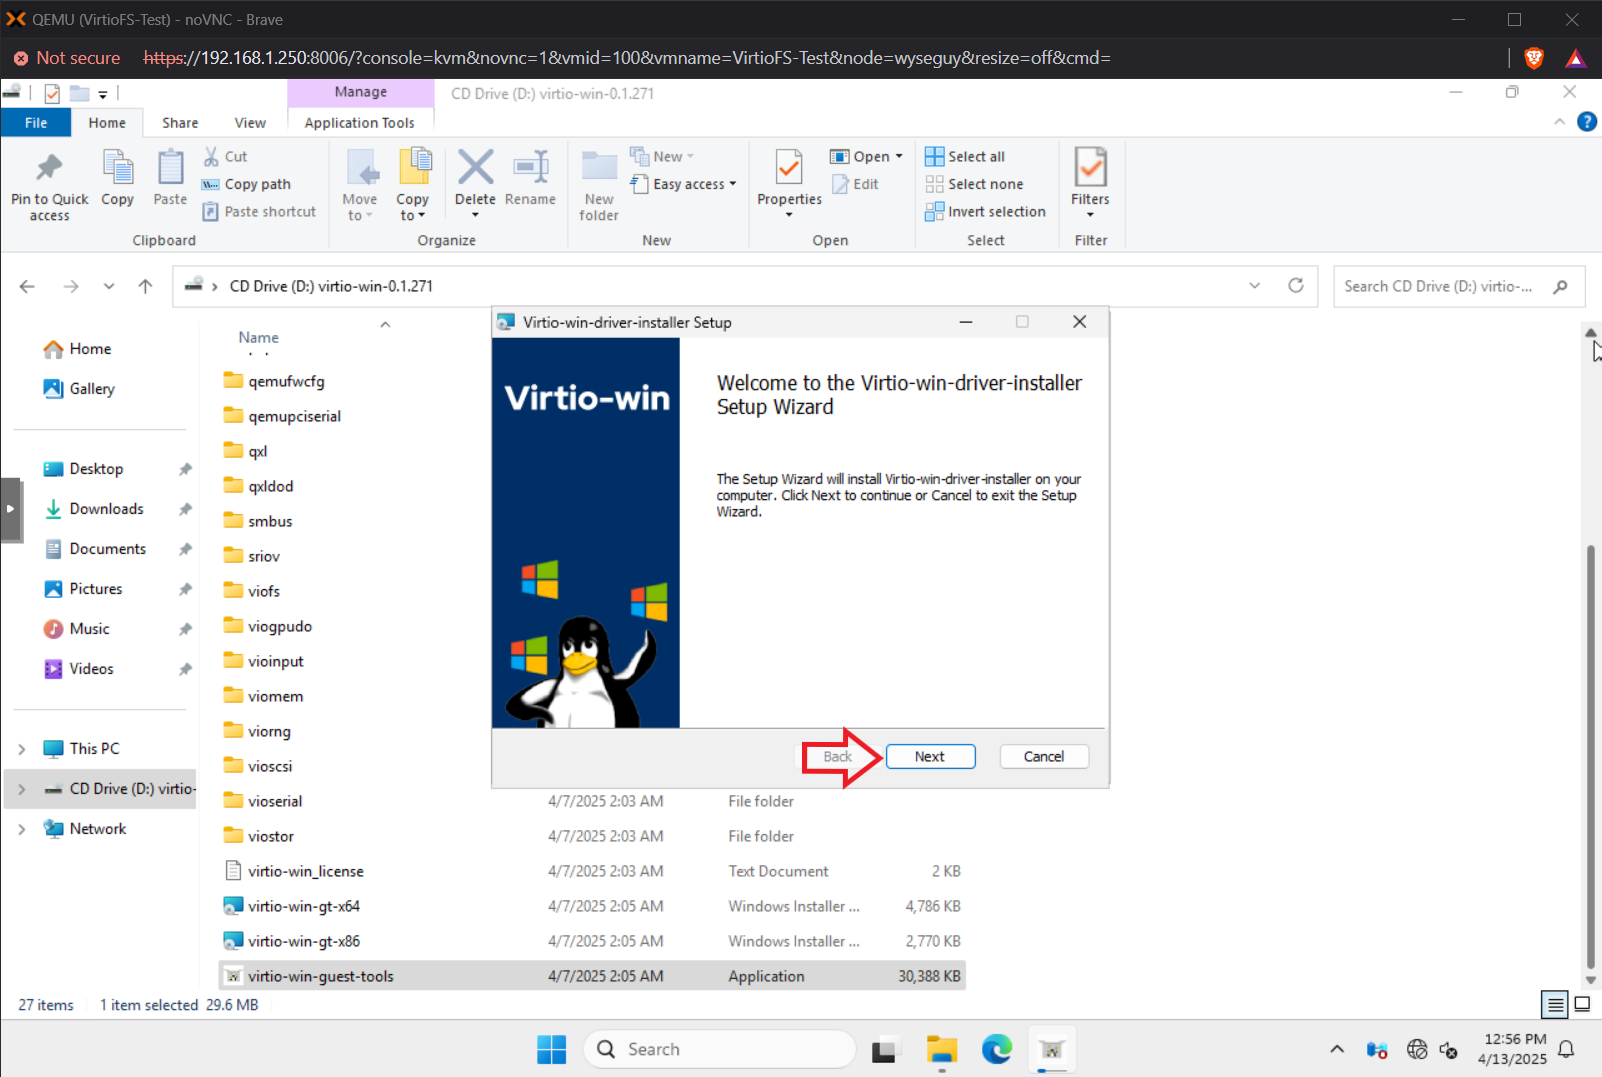
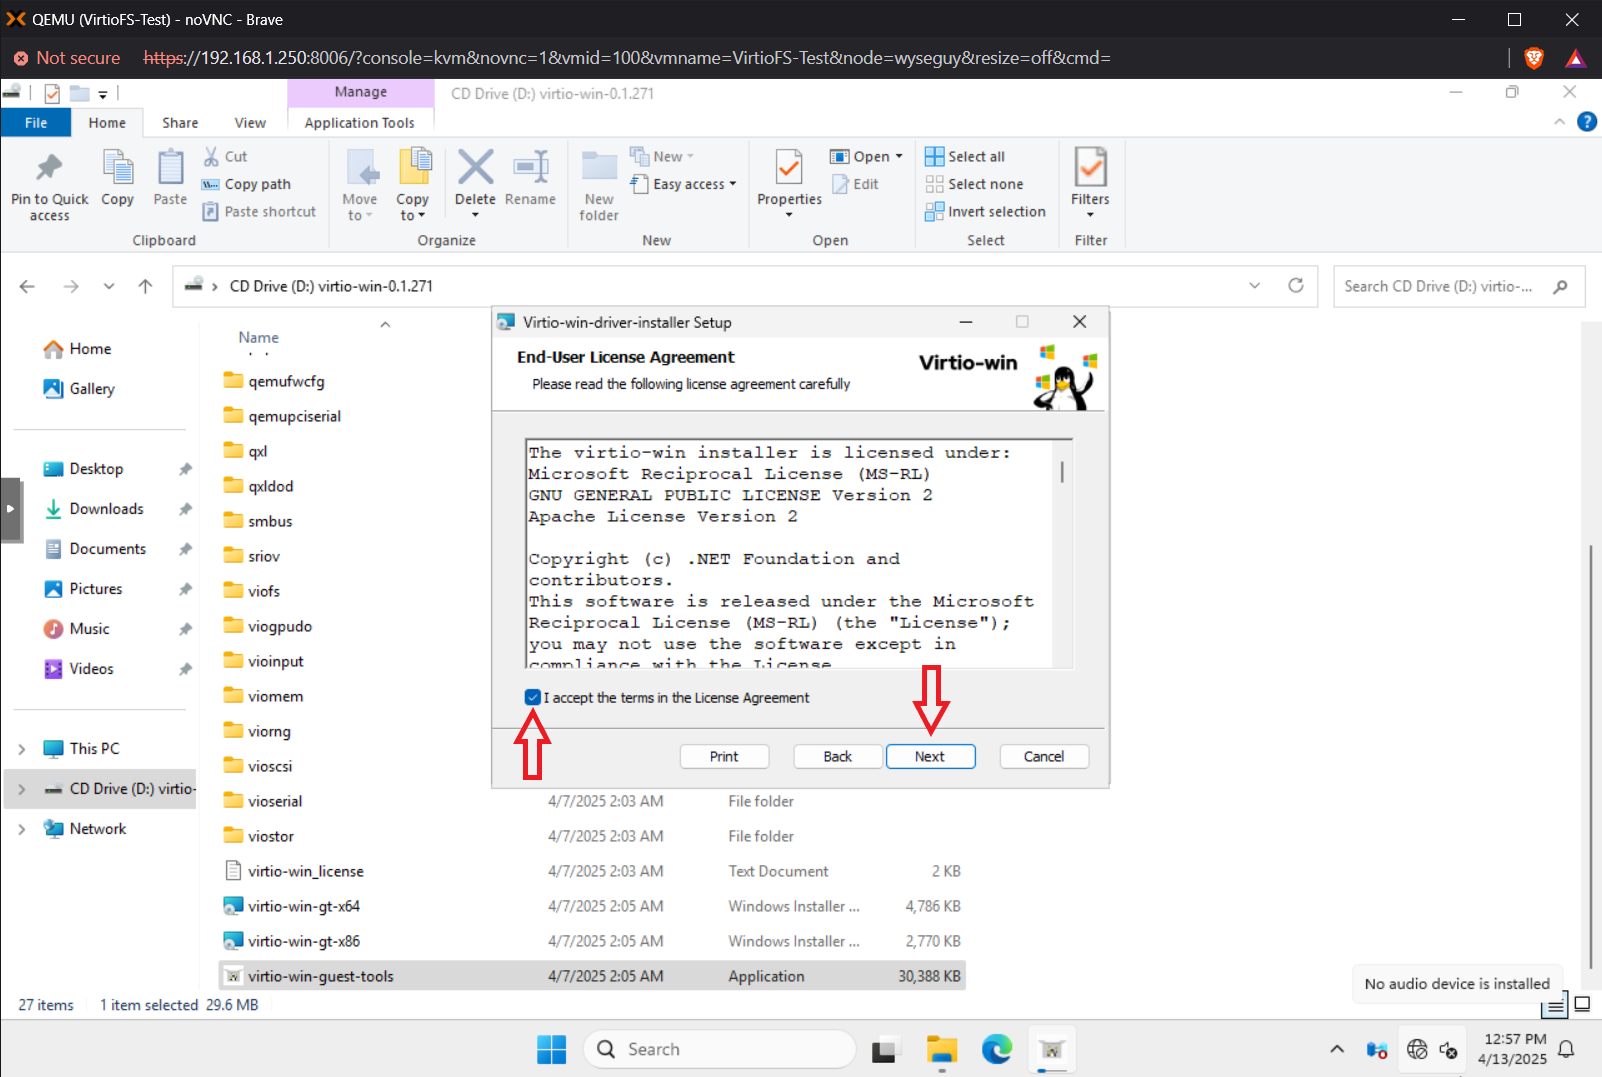
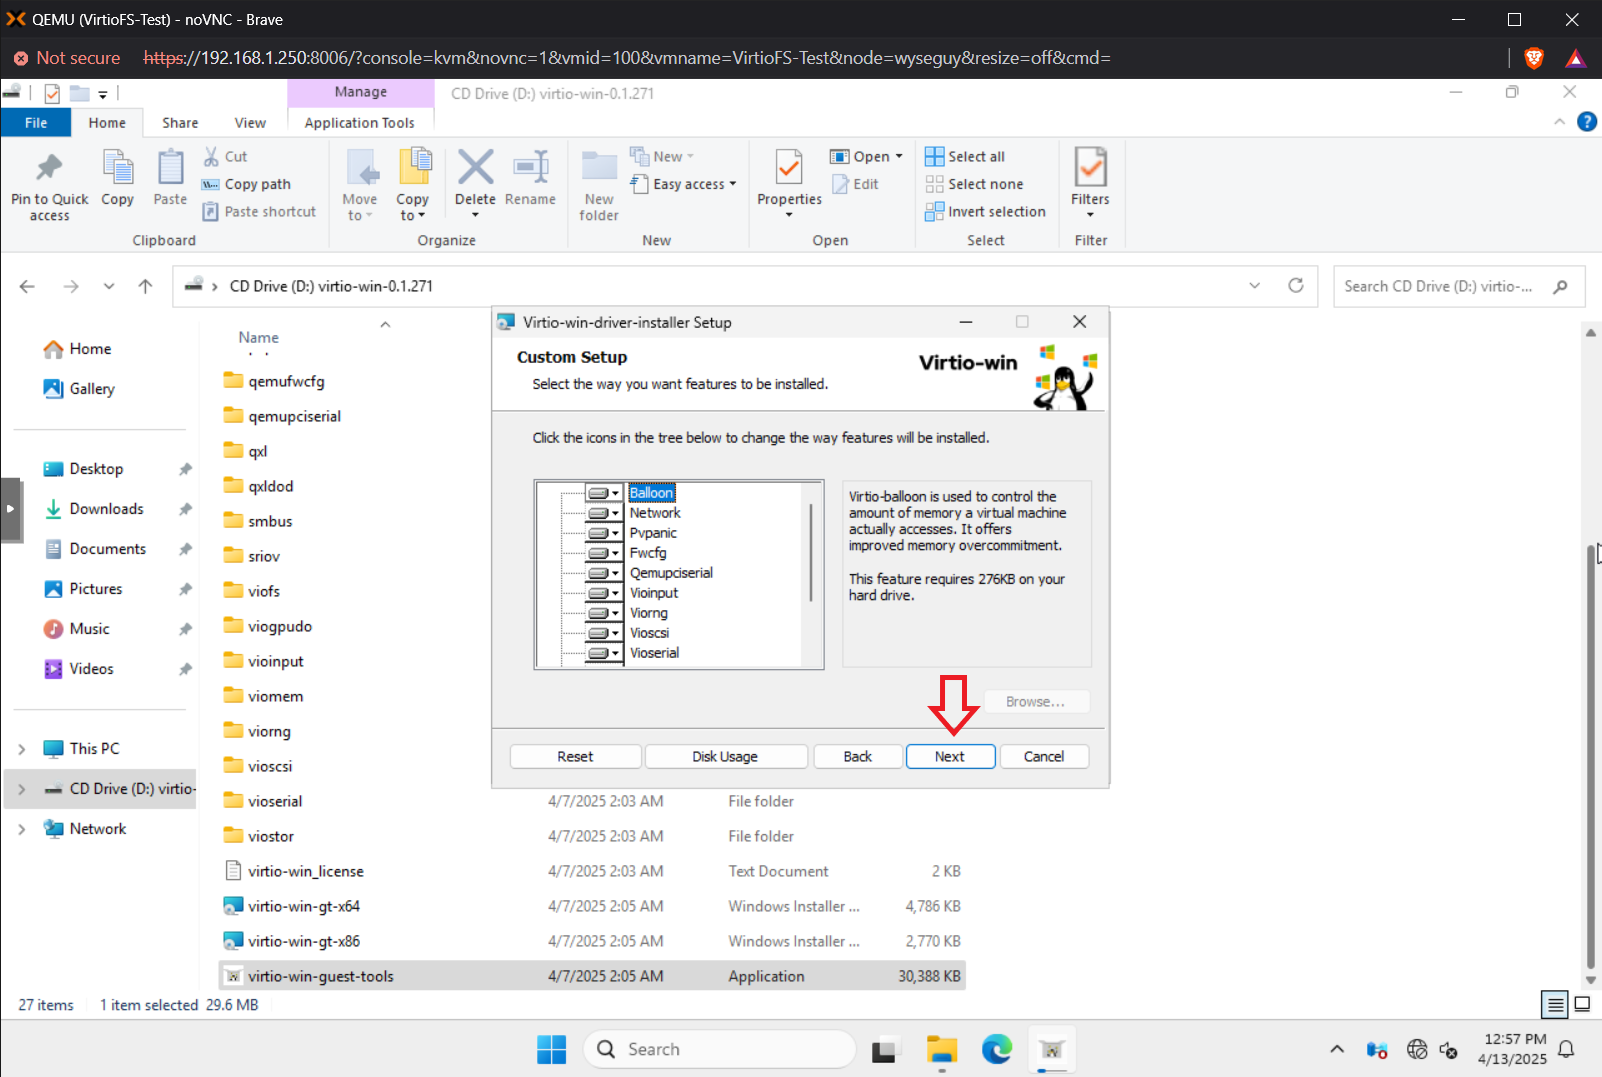
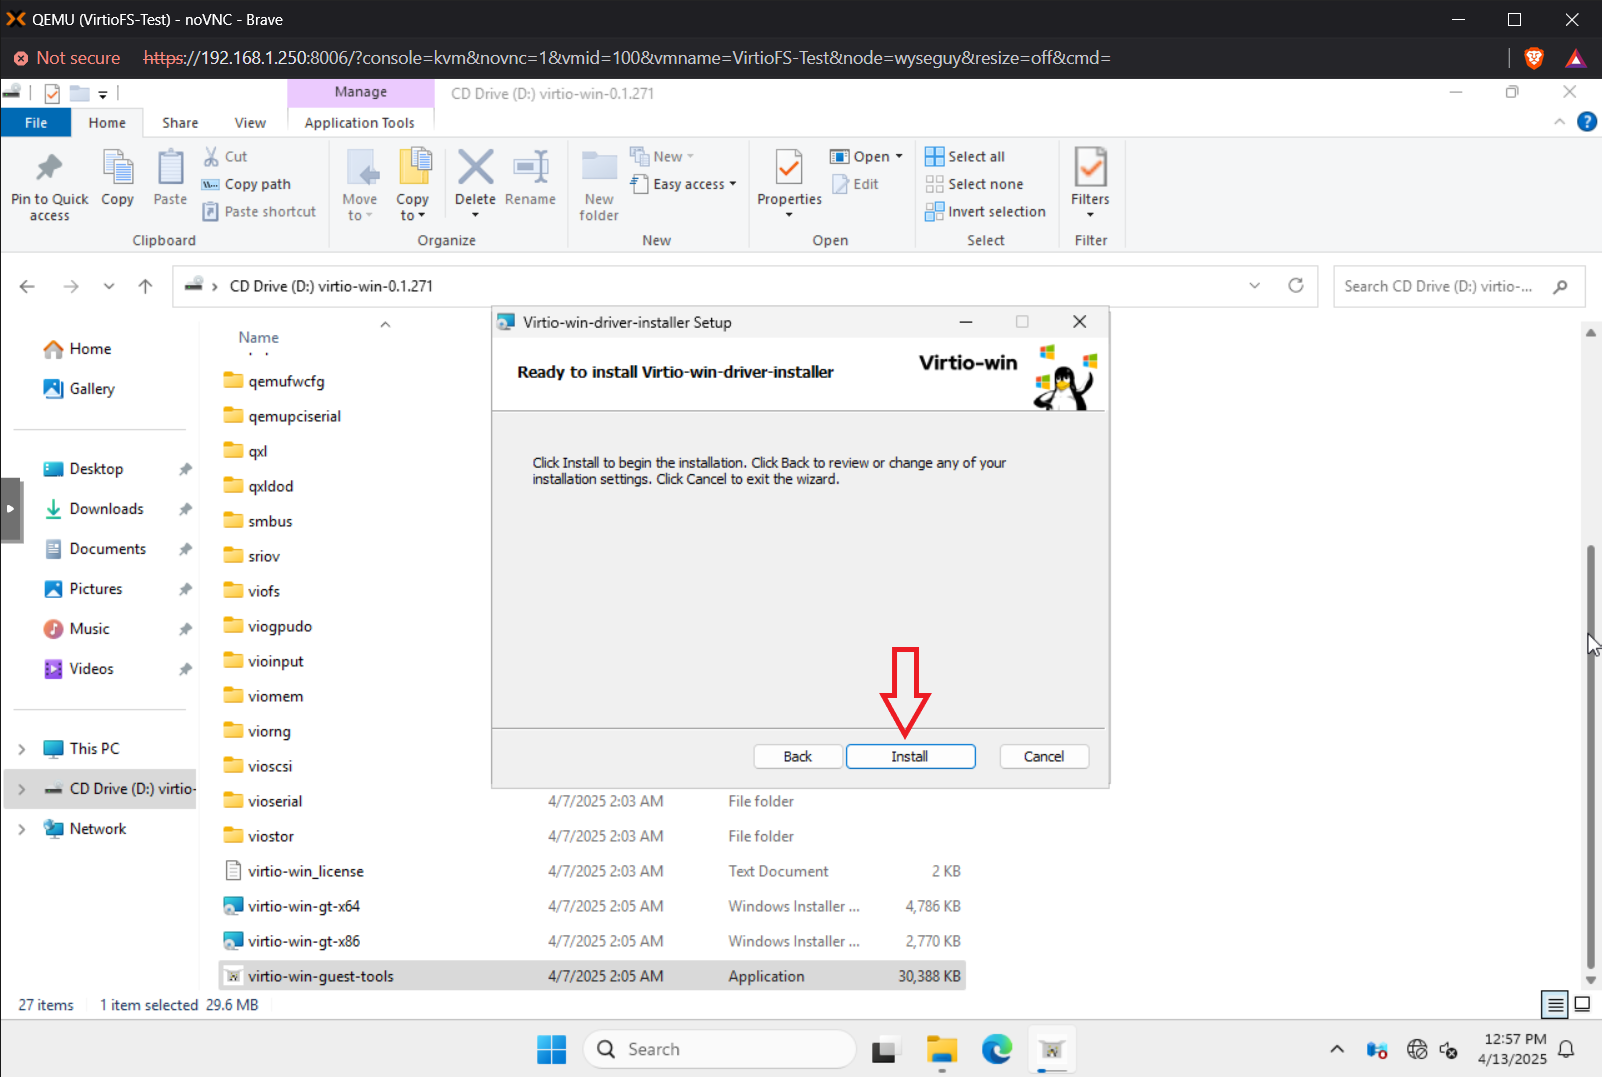
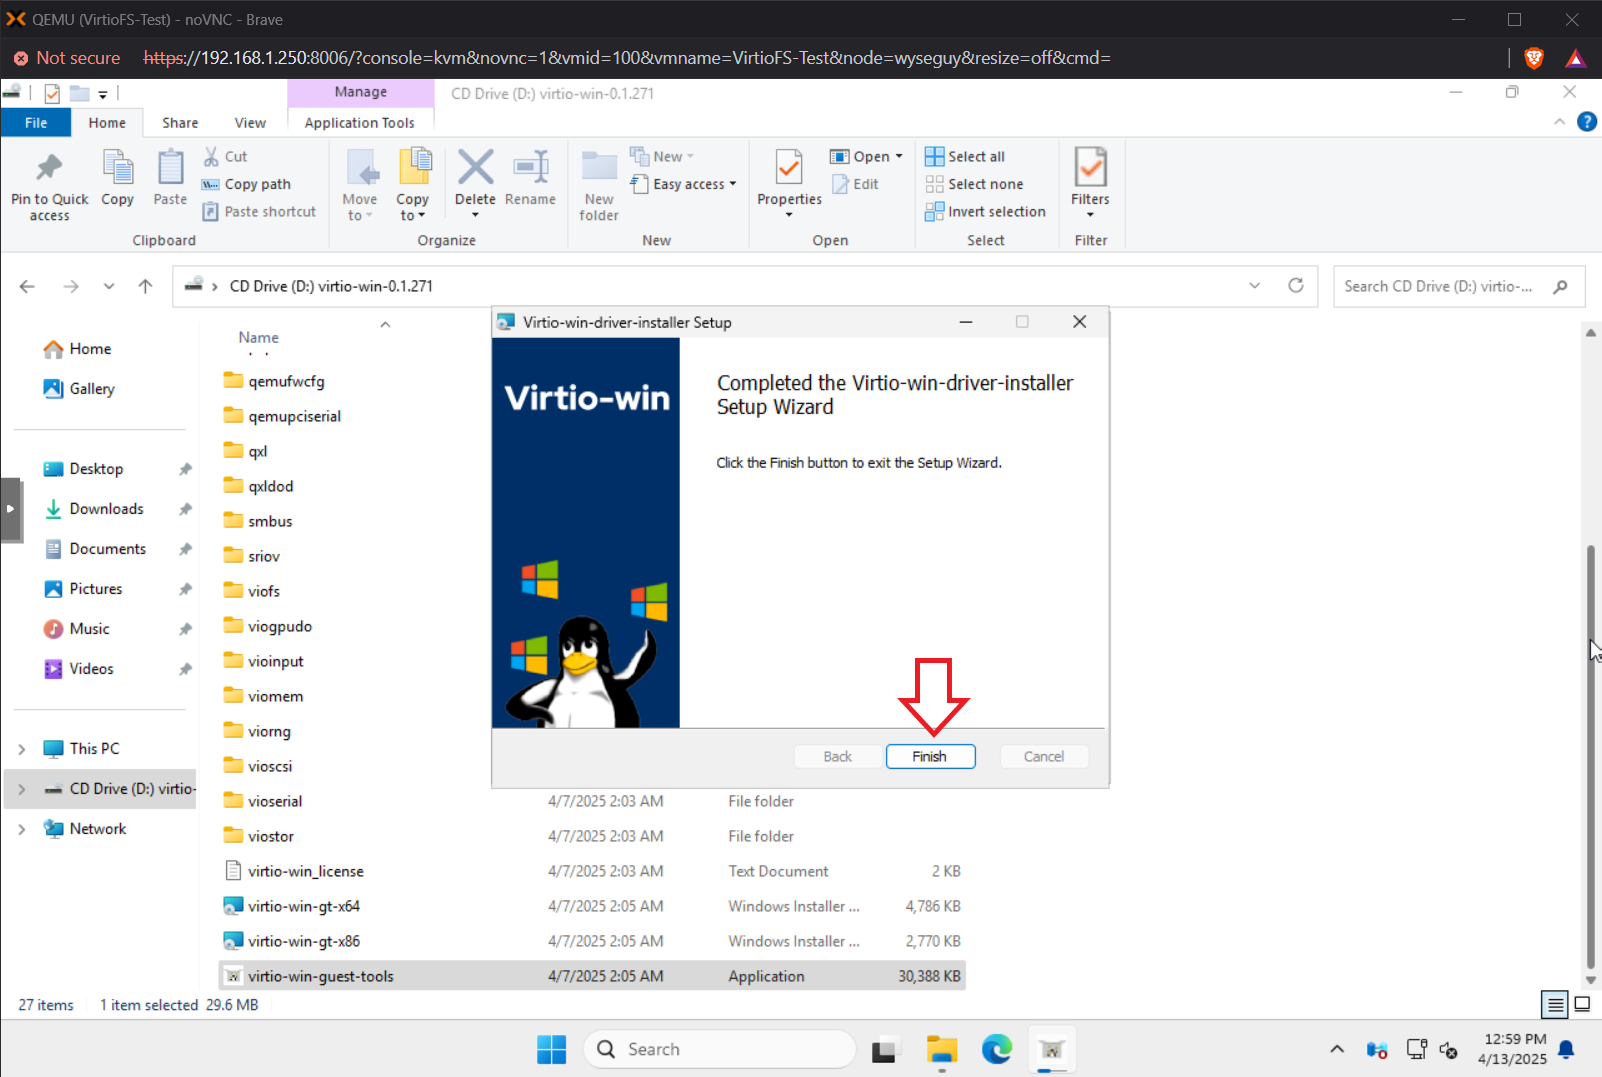
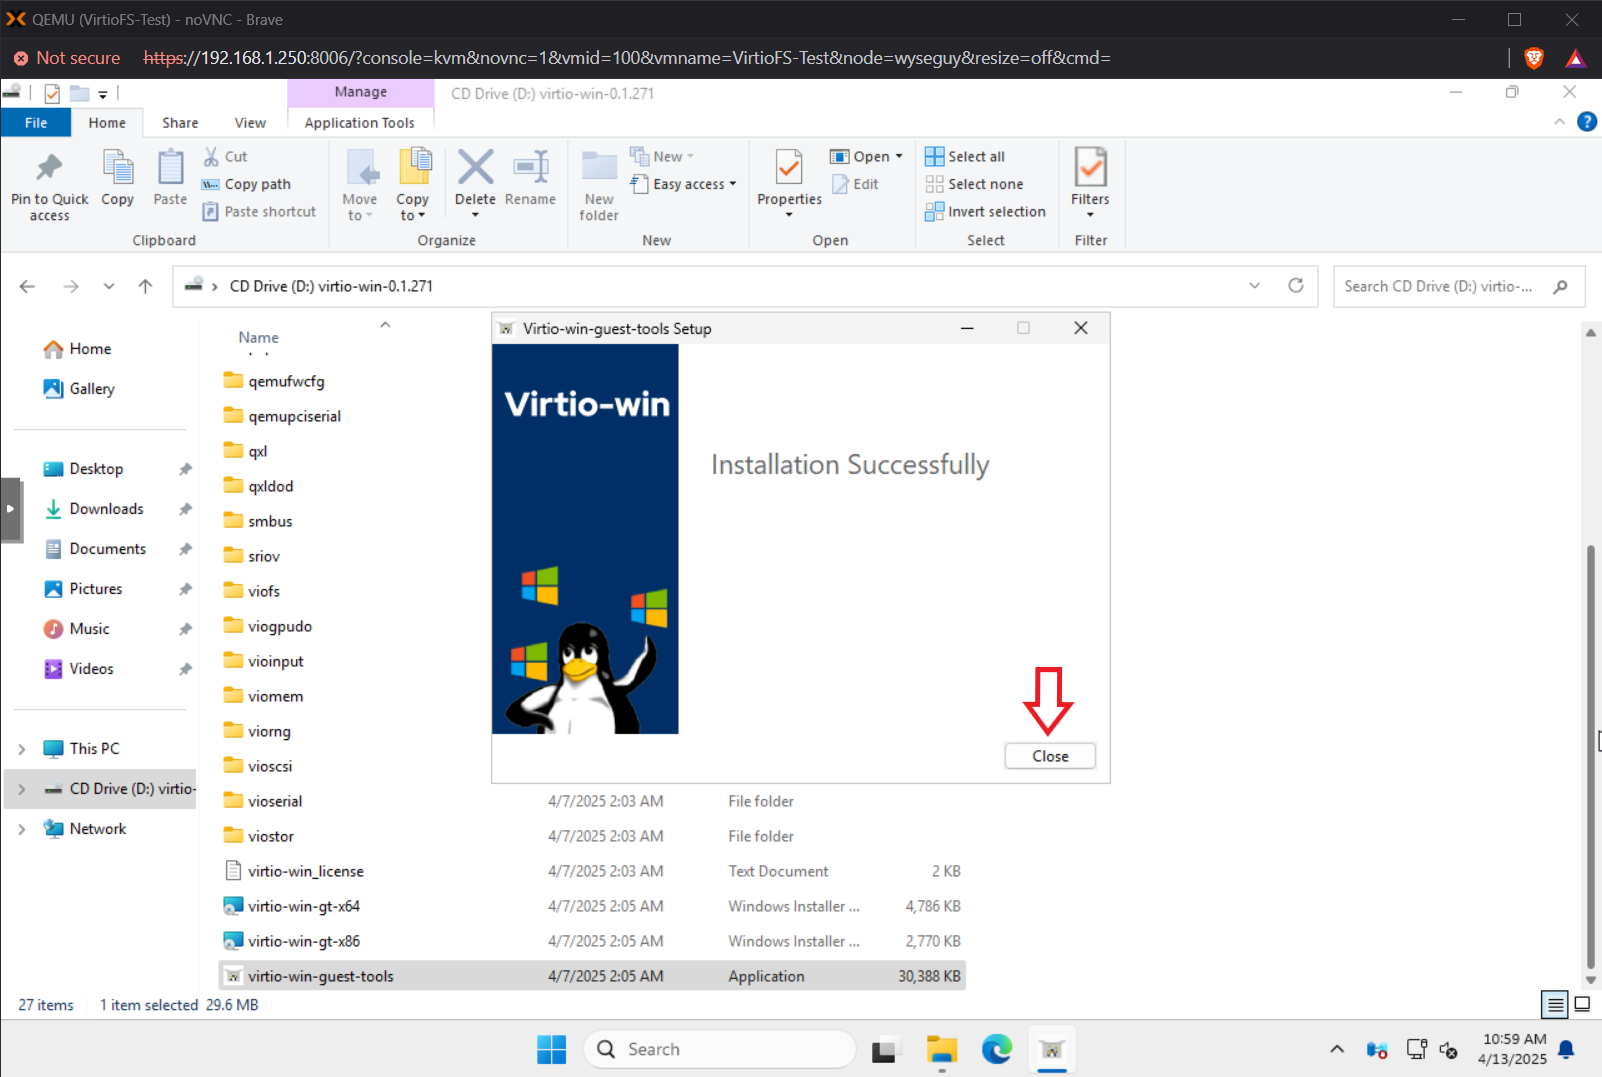
- You can expect to see the following steps, it’ll be a lot of “Next, next, next, finish, etc” and here are the screenshots you can expect:
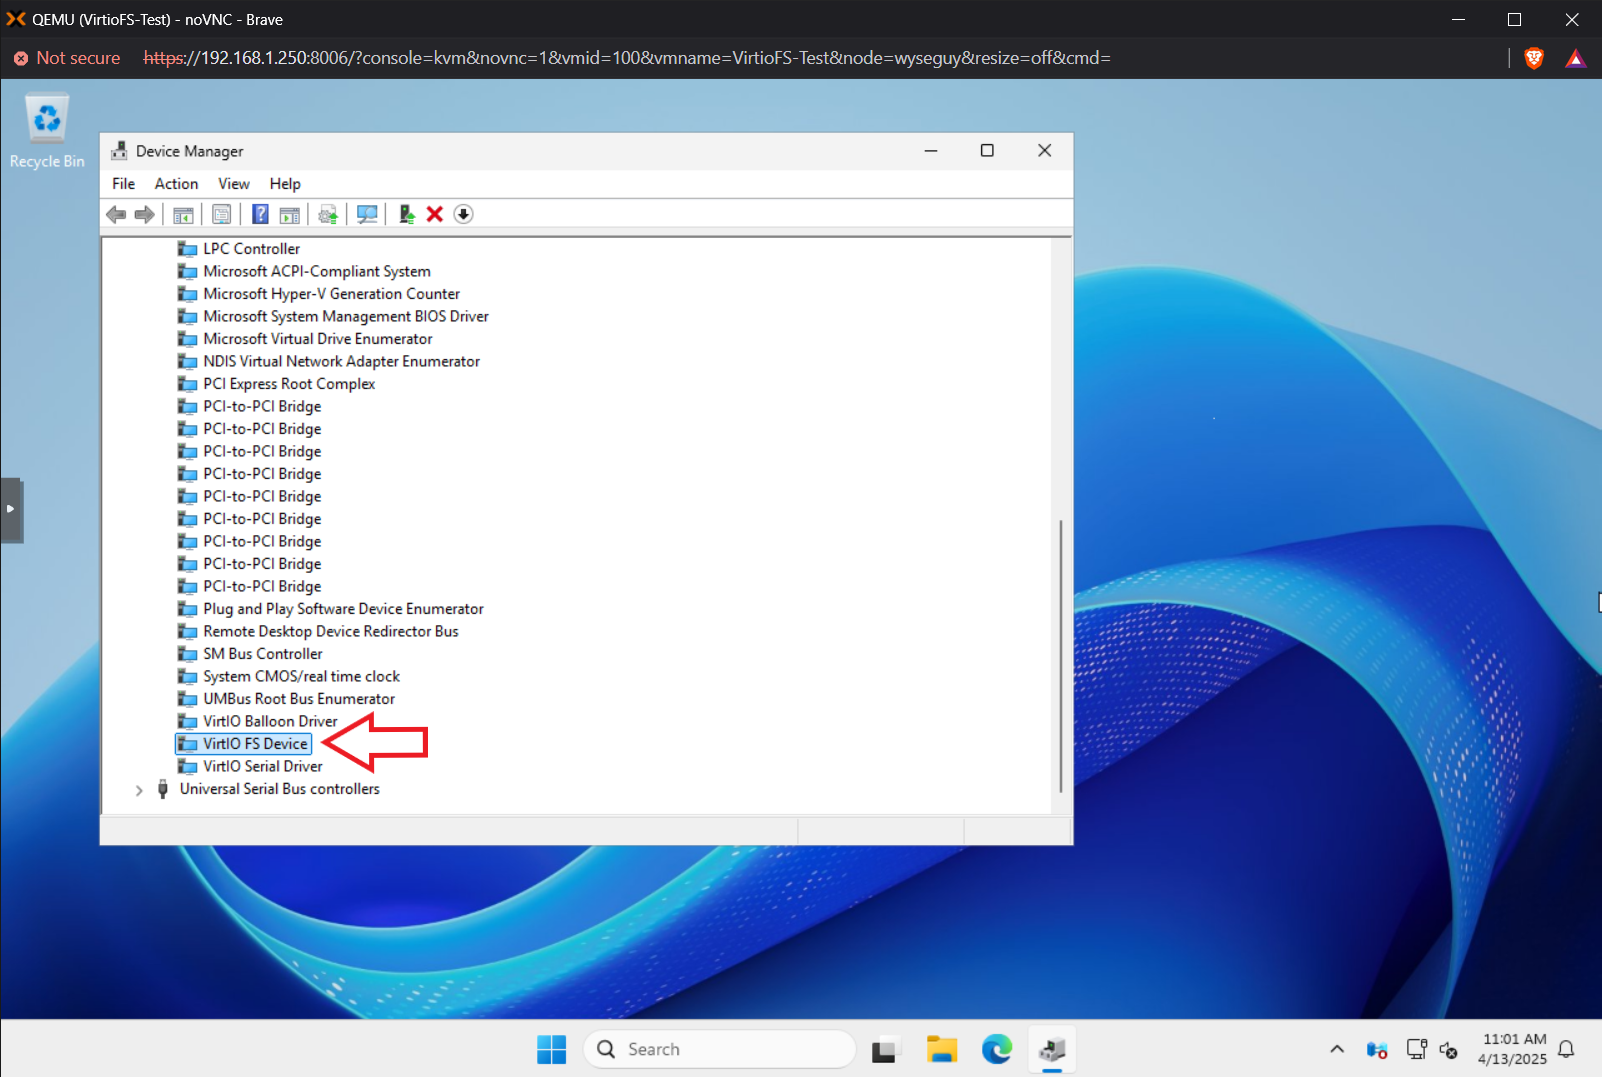
- If you navigate back to Windows Device Manager,you’ll notice the warnings have been removed and we’ll navigate to the “System devices” section to validate that the device is ready to mount virtiofs.

- If you scroll to the bottom of the “System devices” section, you should see “Virtio FS Device” which means we’re ready to install WinFSP.
Installing WinSFP
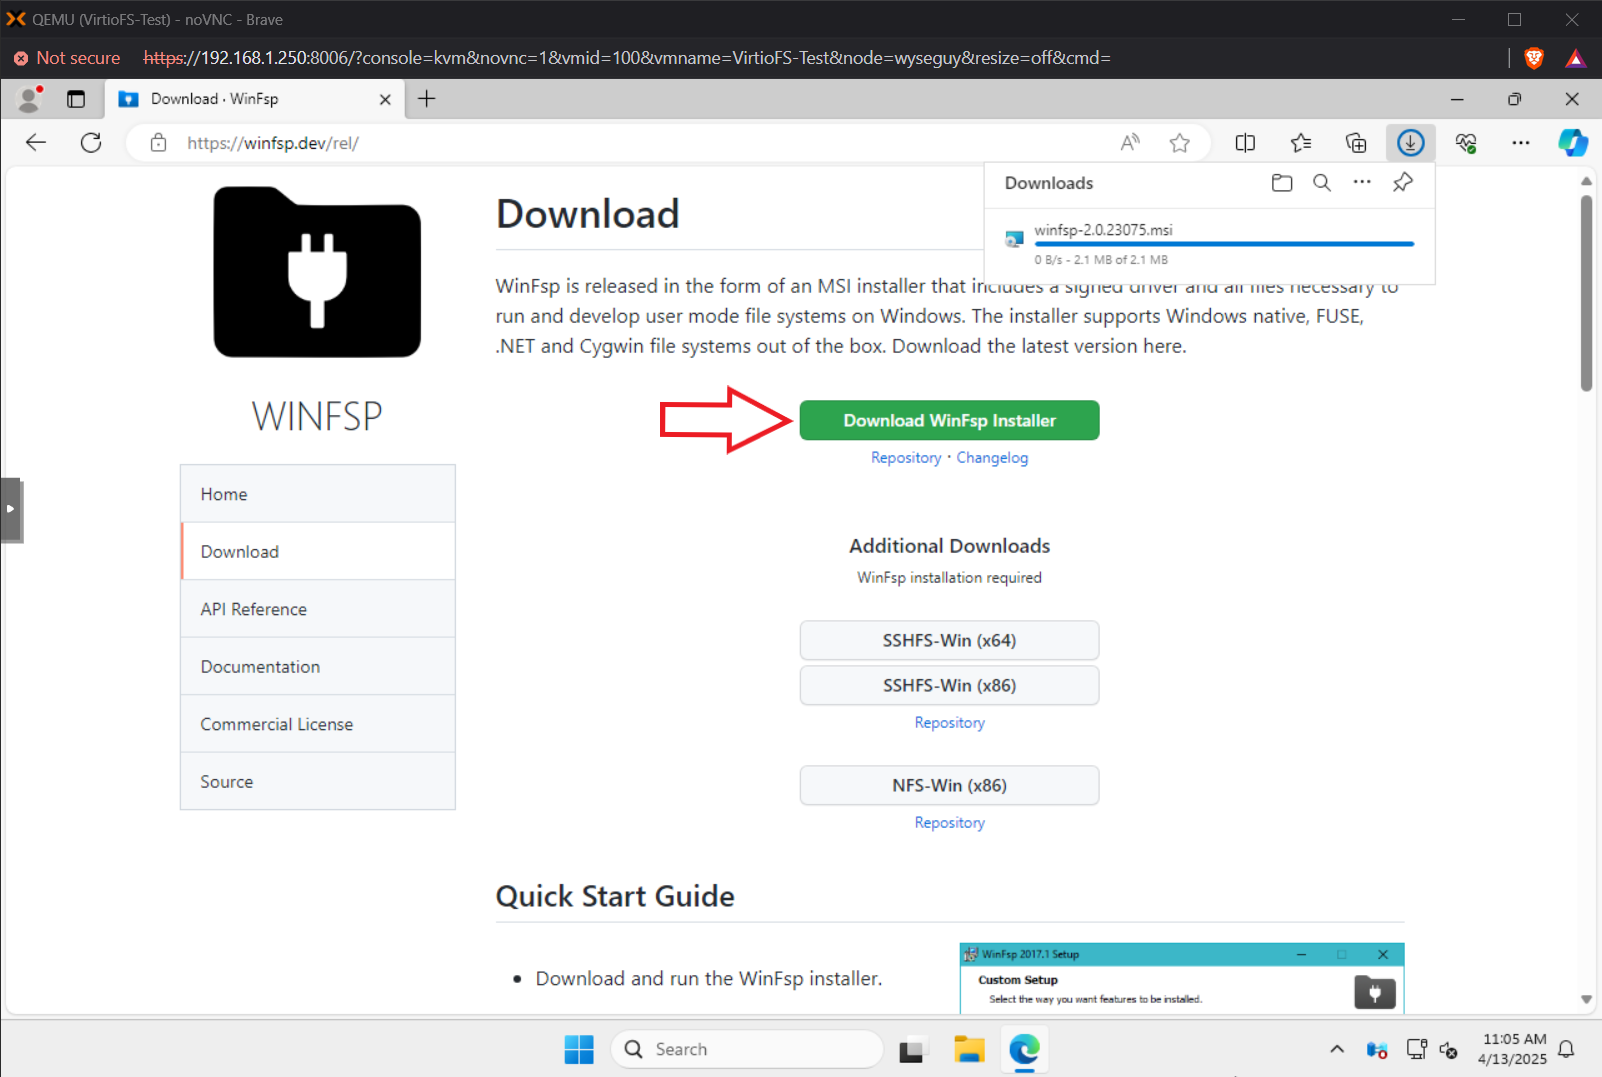
- In order for Windows to mount the virtiofs mapping, we’ll need WinFSP. WinFSP is the Windows File System Proxy and according to the virtio docs you’ll need it. WinSFP is free and you can learn more about it from the link below:
https://winfsp.dev/rel/
- You’ll need to get the installer from the WinSFP onto the virtual machine, the easiest way is probably just opening this URL in Microsoft Edge on the guest.
https://github.com/winfsp/winfsp/releases/download/v2.0/winfsp-2.0.23075.msi
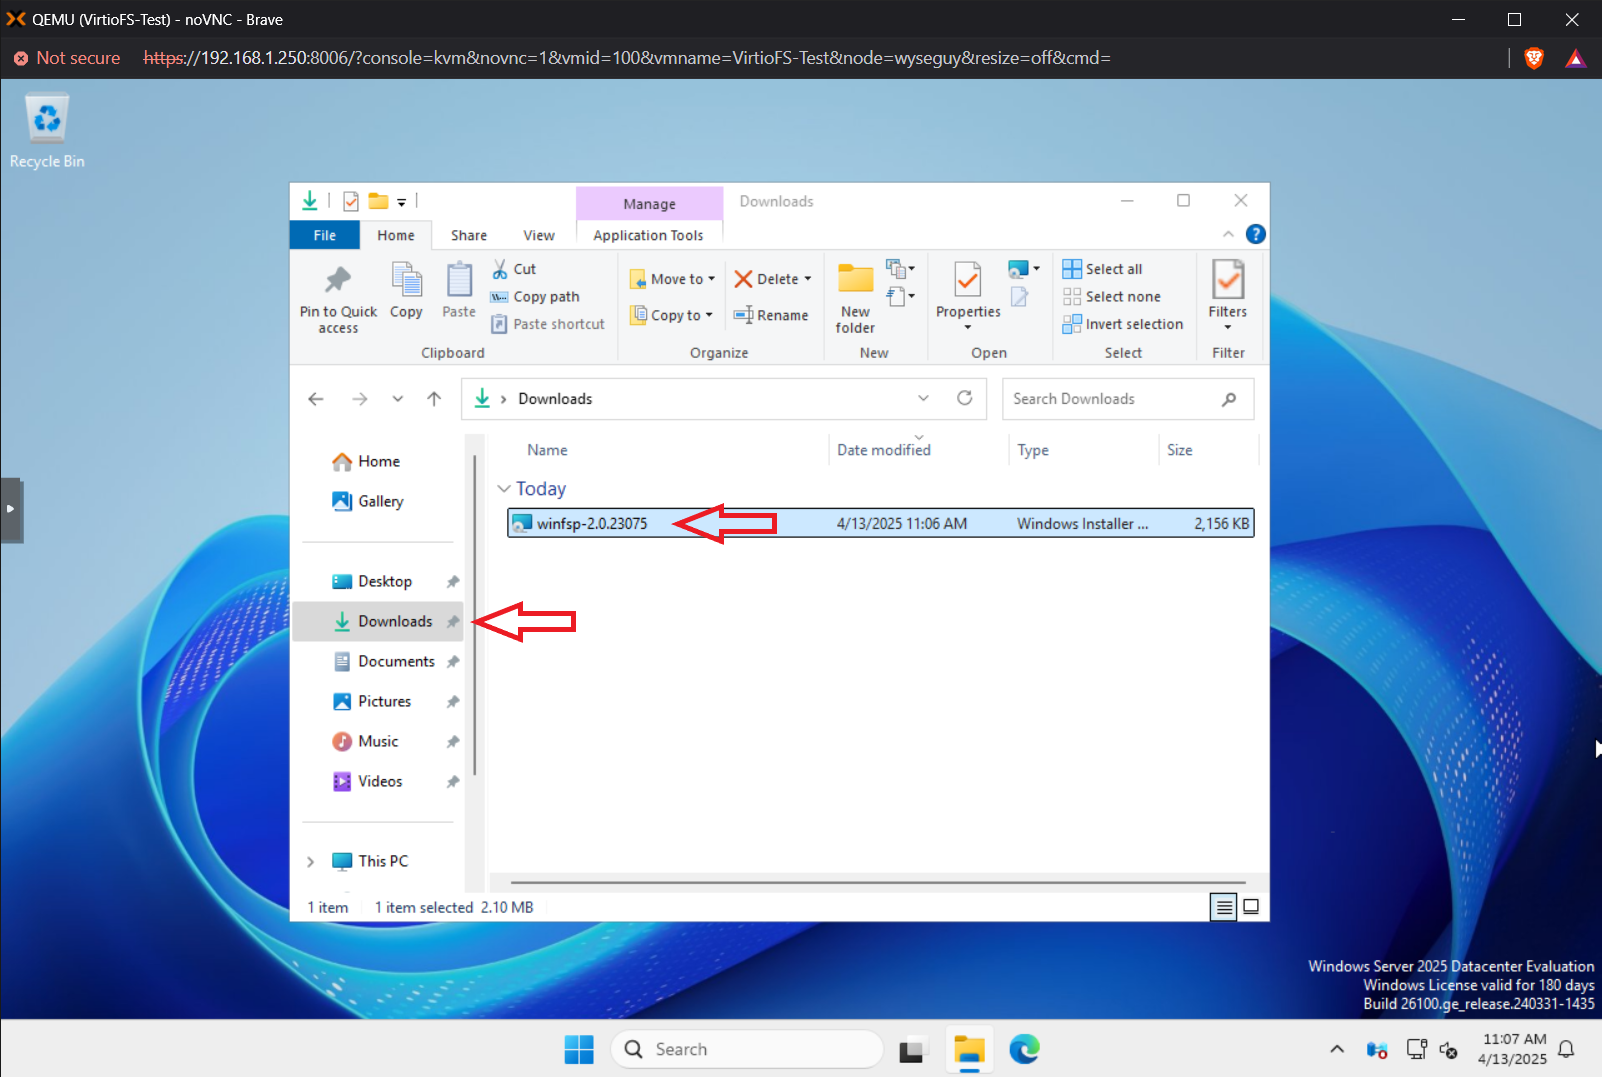
- Navigate to the location you downloaded the Winsfp installer and launch it. In this instance, it’s in the “Downloads” folder.
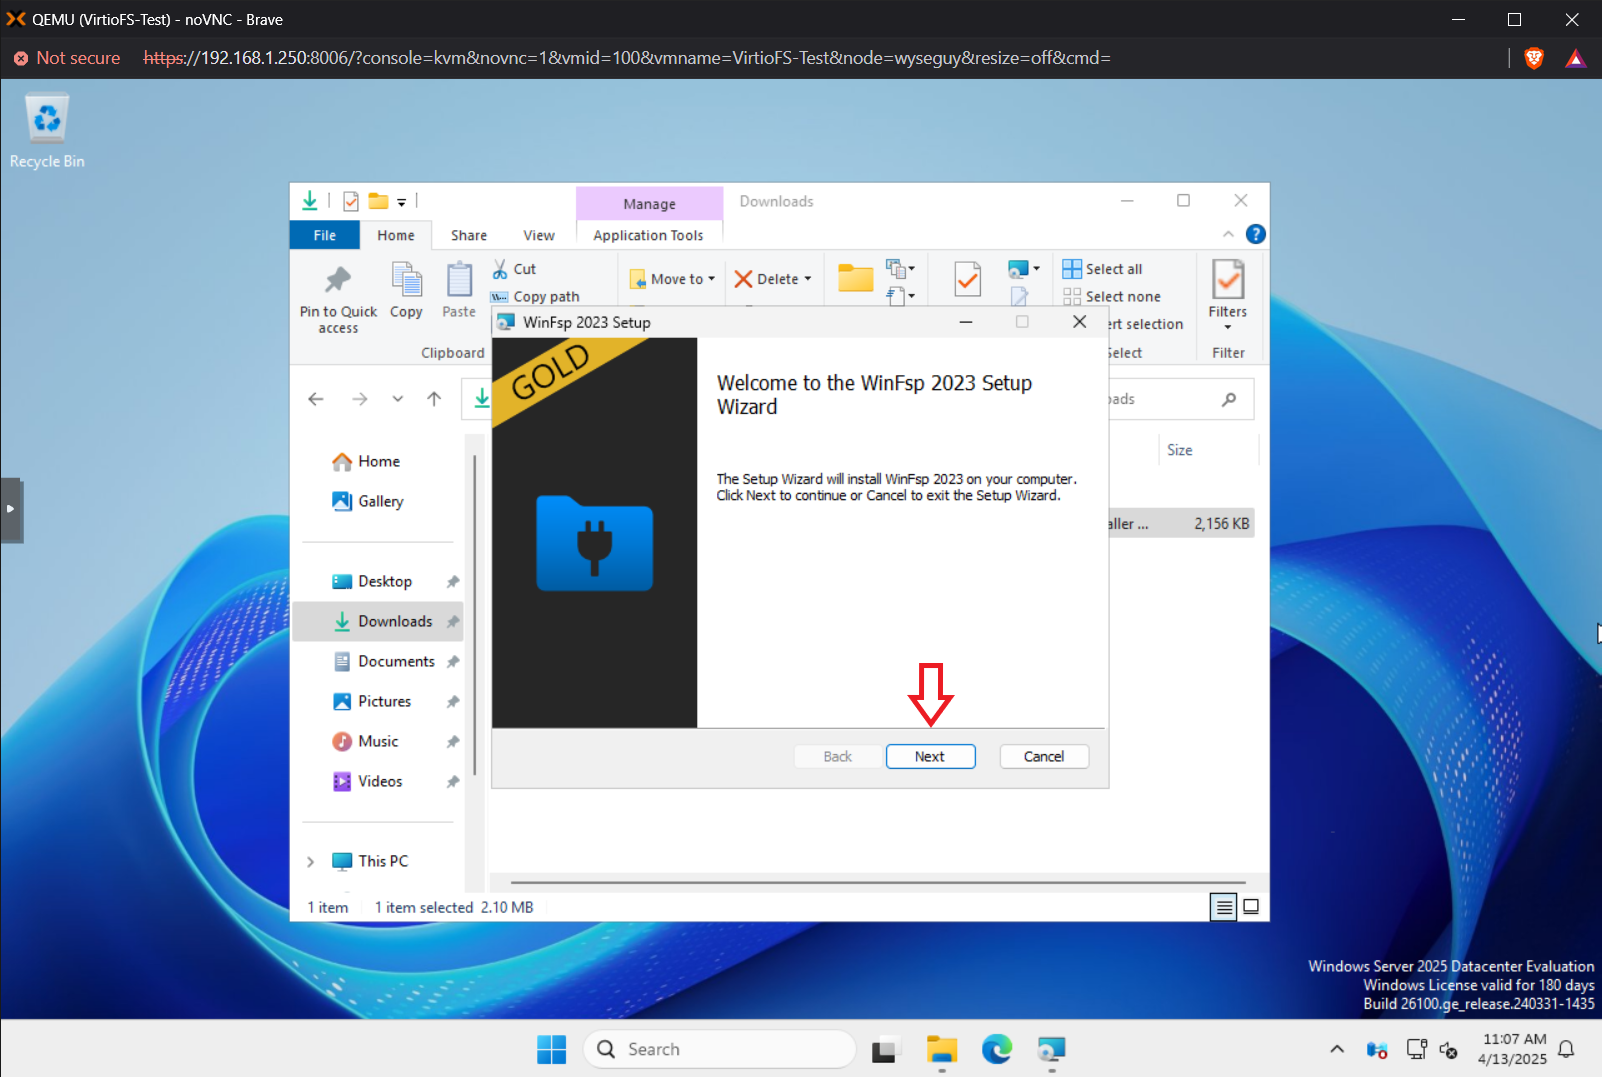
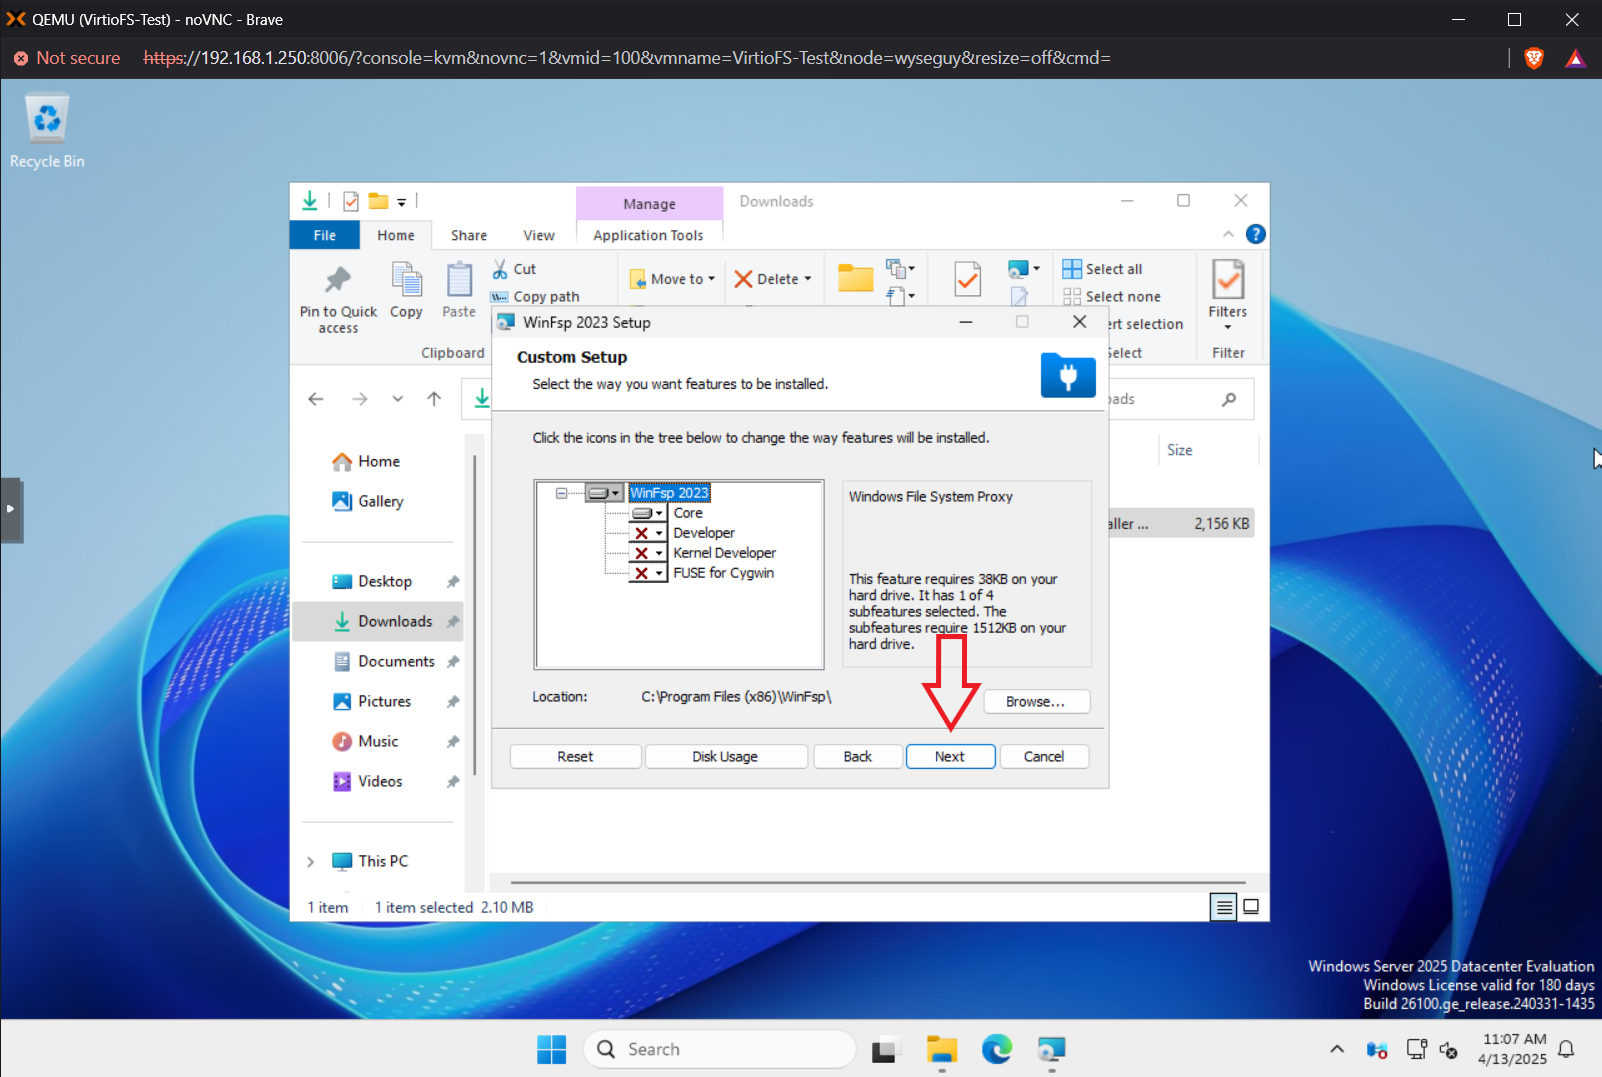
- Just another installer with lots of “Next, next, next, finish, etc”
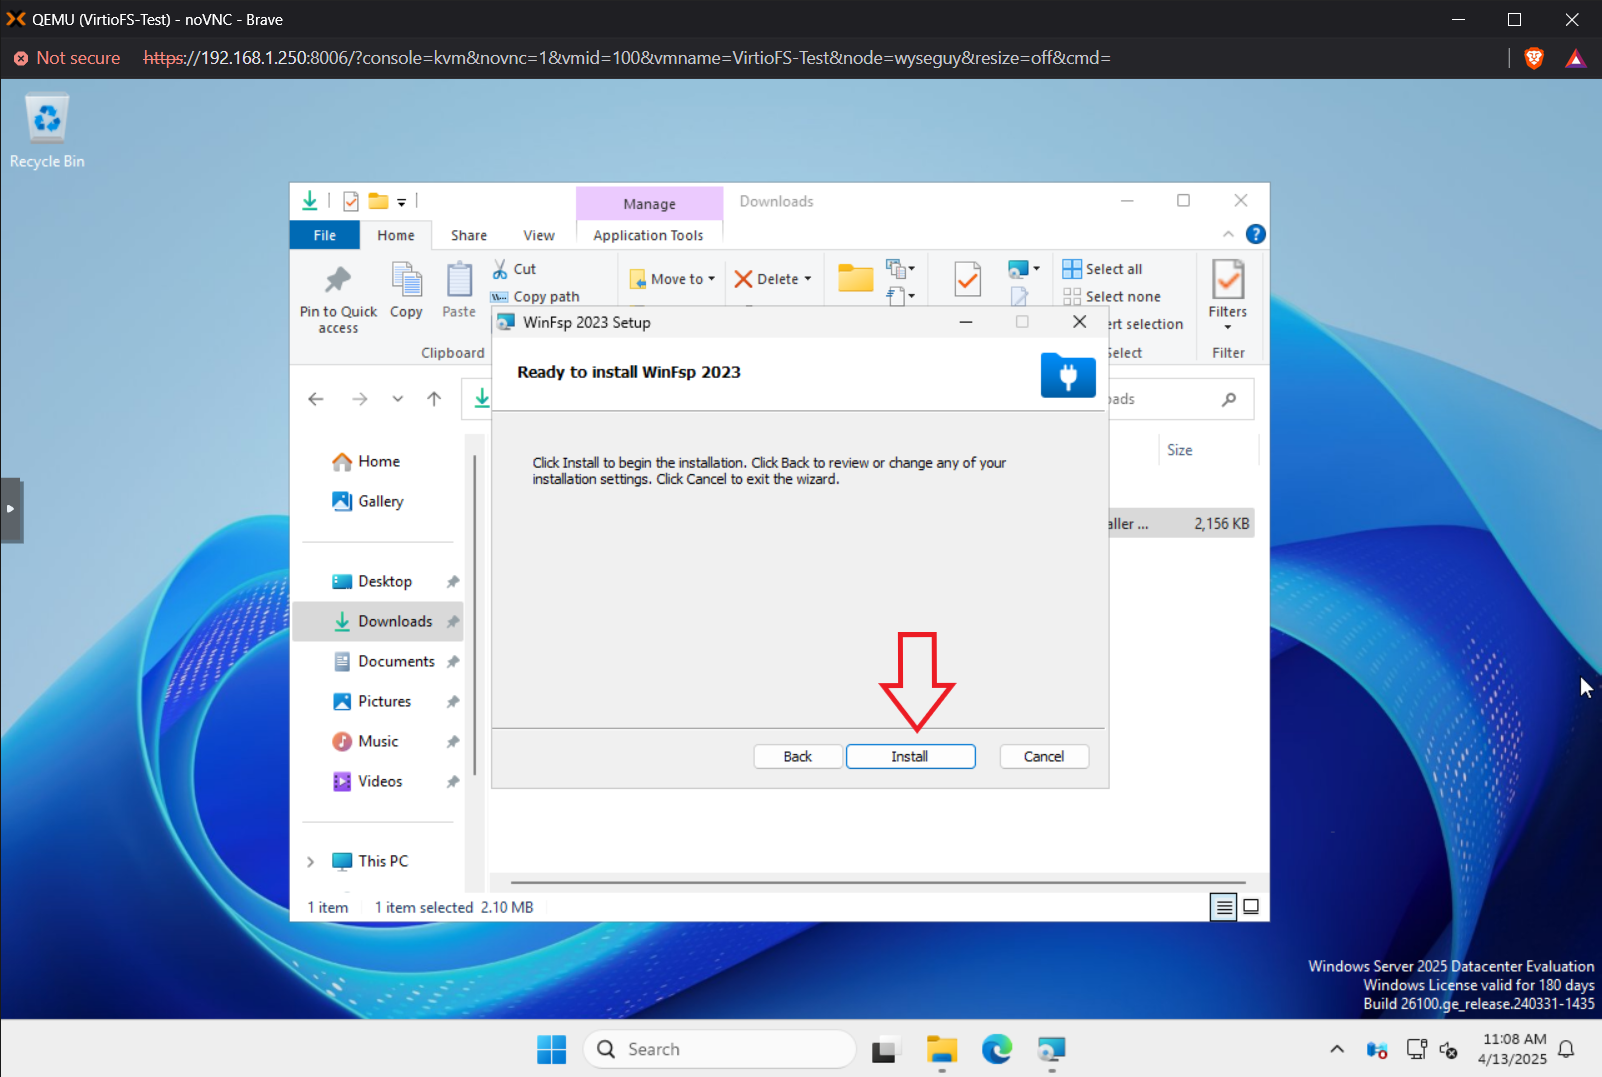

- WinSFP is installed! Easy right?
Enabling the virtiofs volume
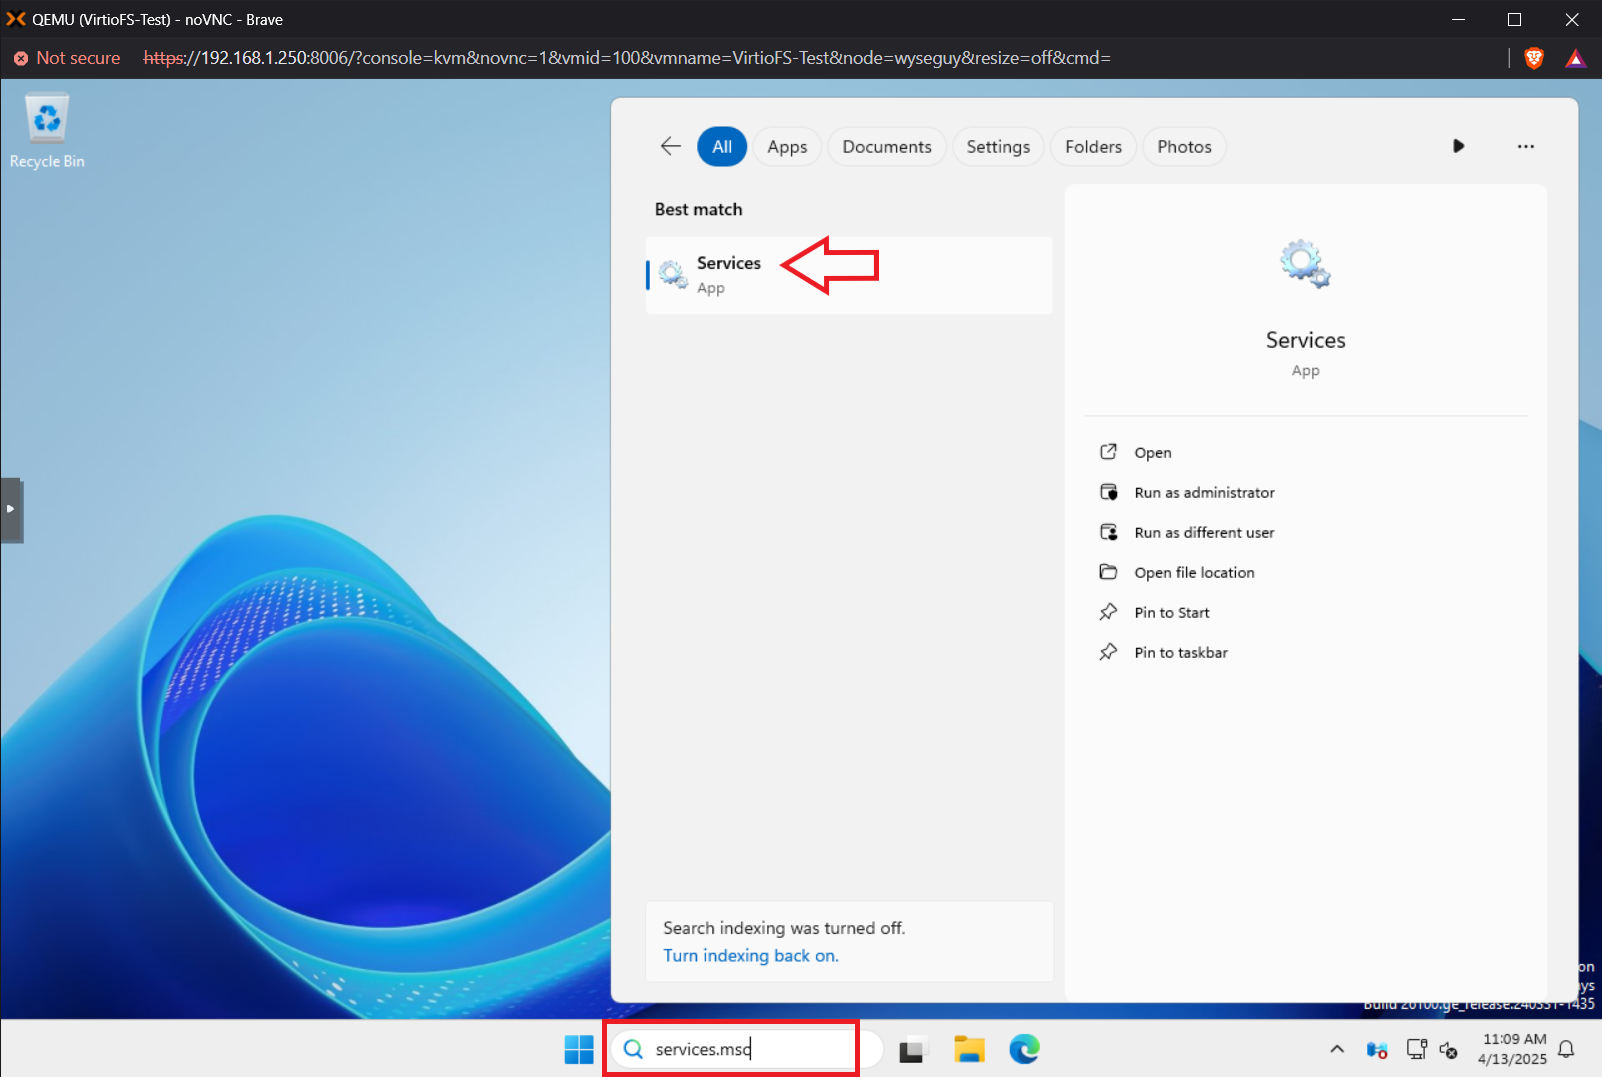
- Launch the Windows Services applet as administrator. You can use the following command to launch it.
services.msc
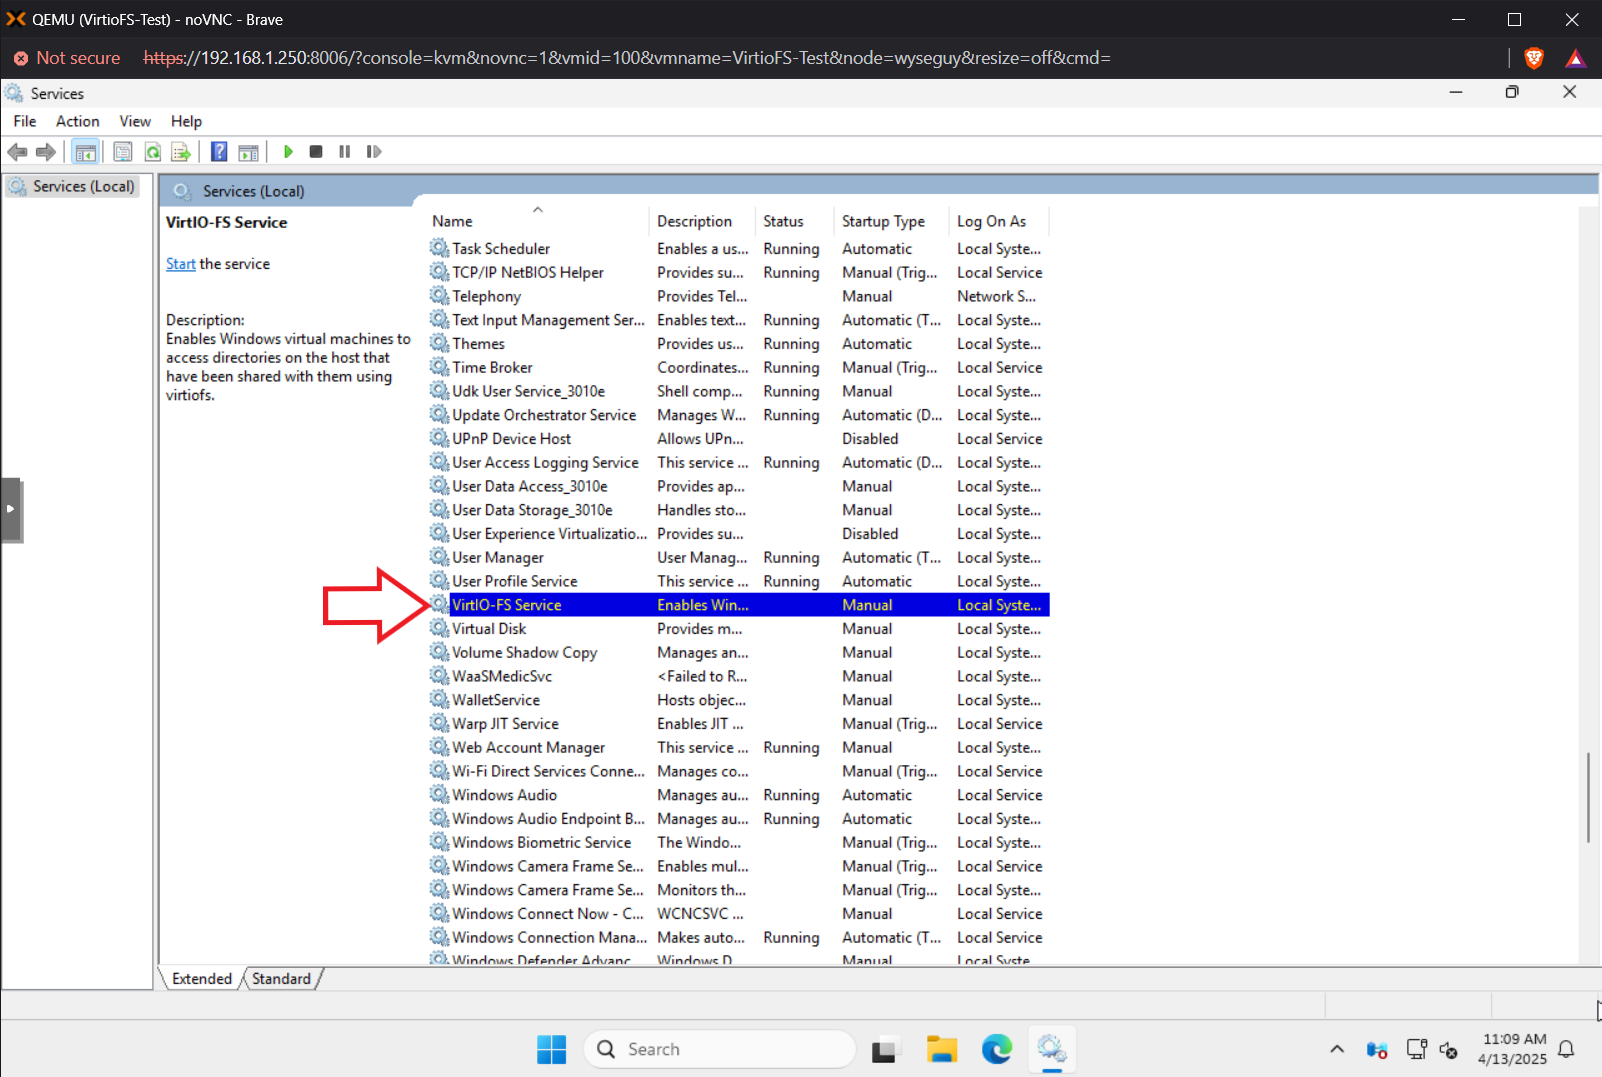
- Search for the “Virtio-FS Service”, right-click and select “Properties”
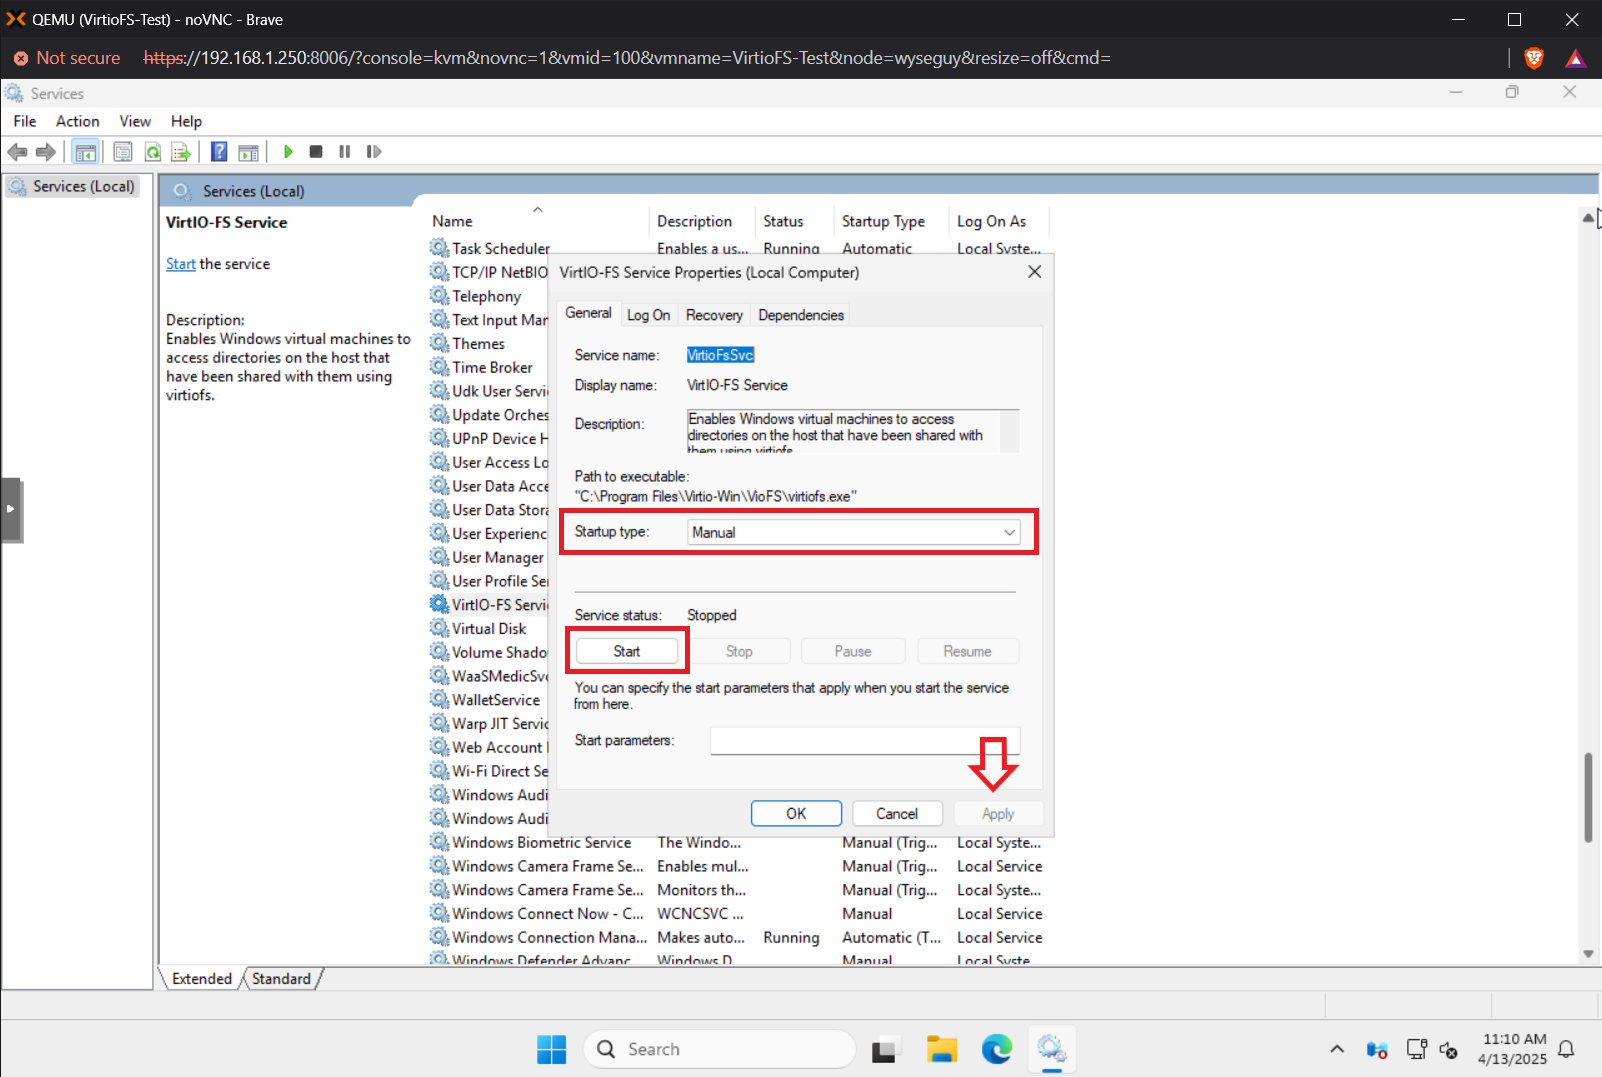
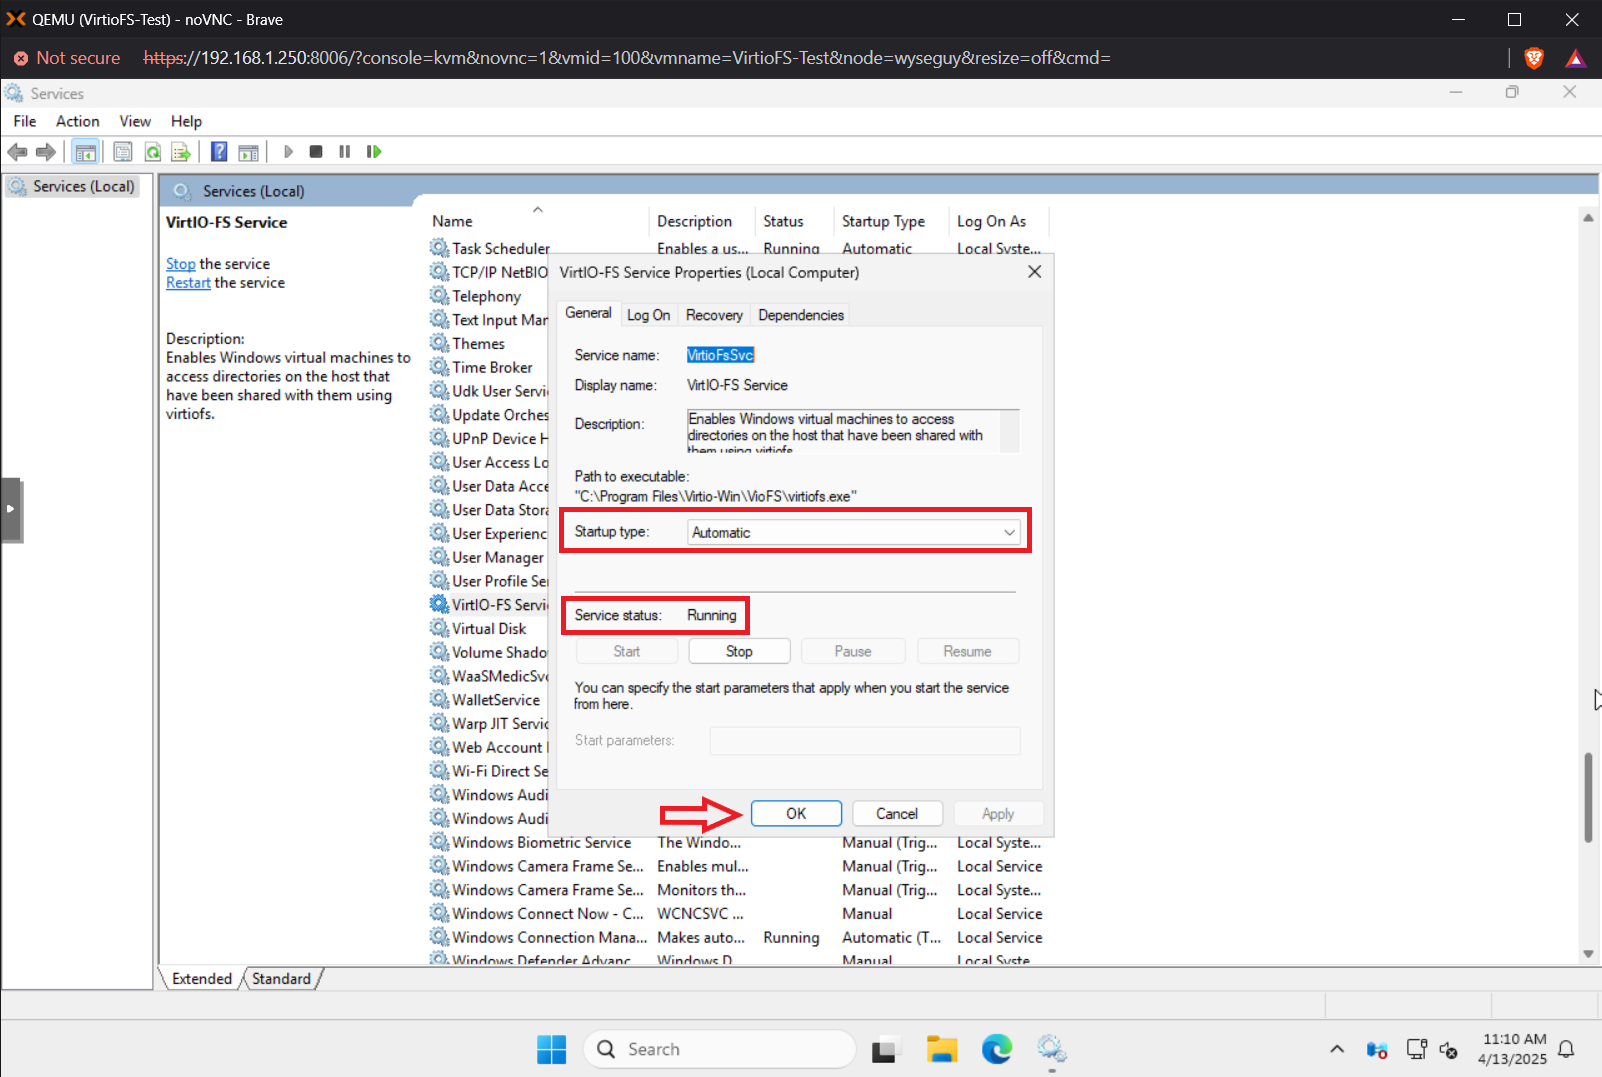
- Change the “Startup type:” for “Manual” to “Automatic” and then click the “Start” button. You’ll notice the “Service status:” change from “Stopped” to “Running”. Now the virtiofs mapping will persist through reboots!
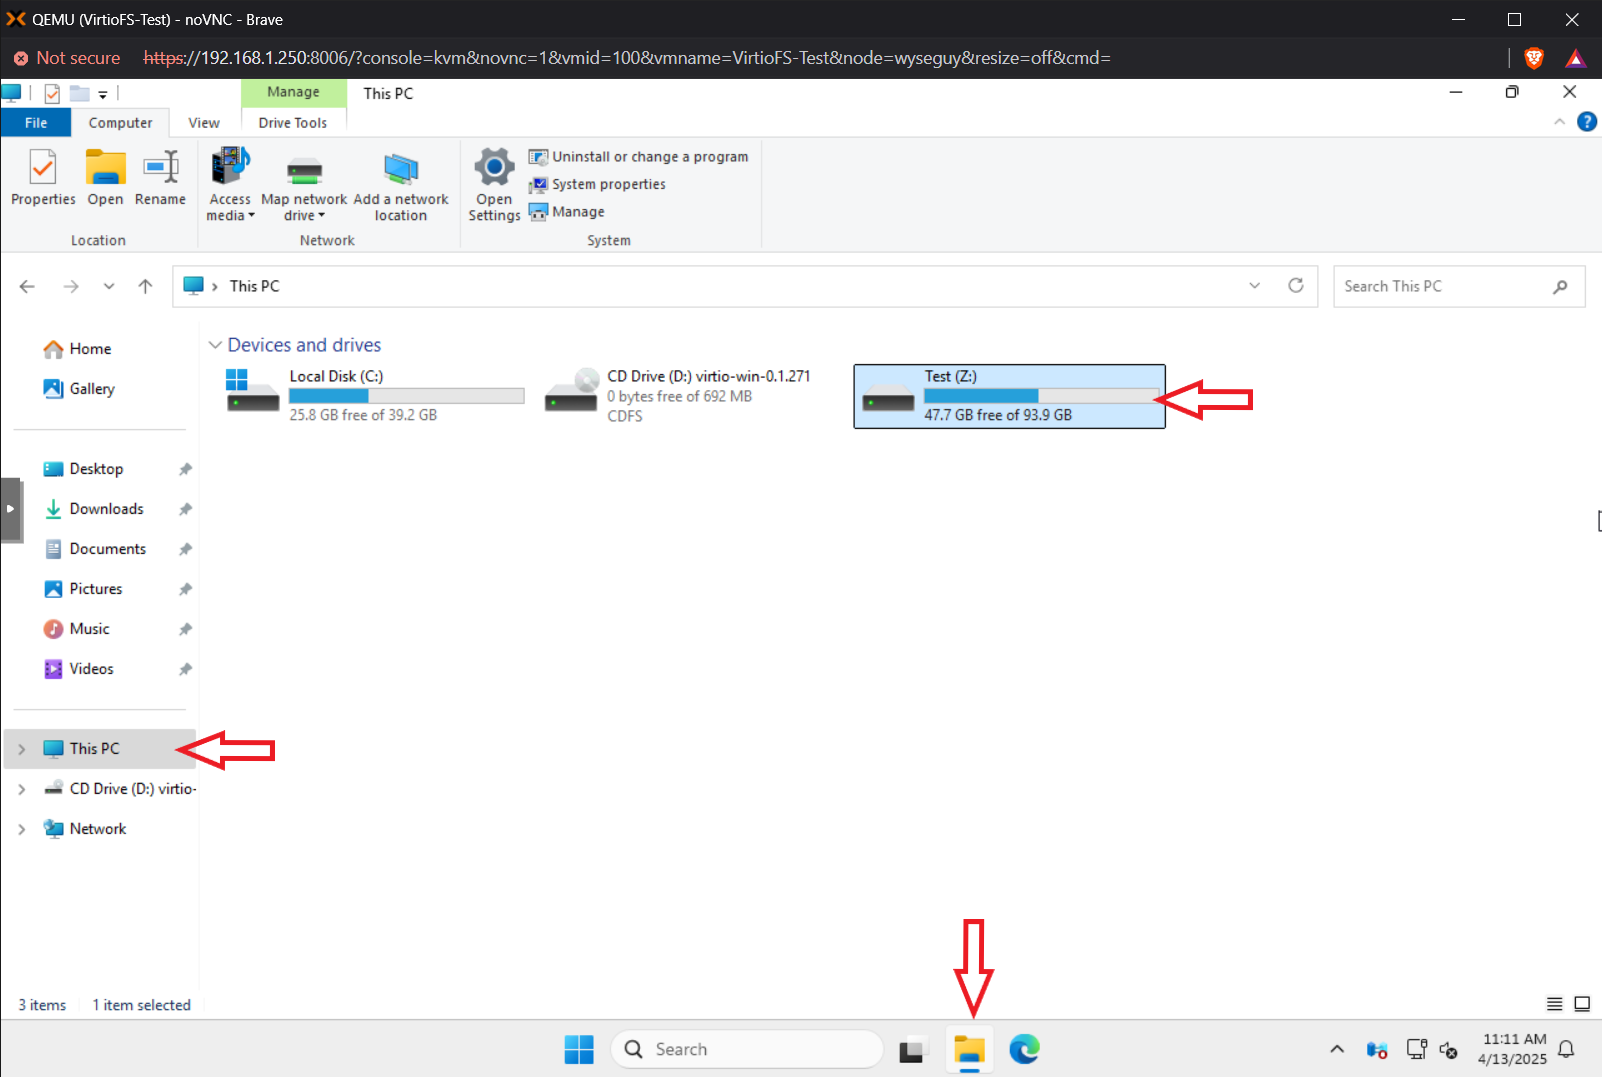
- Launch your file explorer and navigate to “This PC” and you’ll notice a new disk. You’ll notice it automatically mapped to the “Z:” drive. WinSFP and virtiofs will start from “Z:” and will work it’s way up depending on what is already configured. As an example, if “Z:” was already in use, it’d use “Y:”.
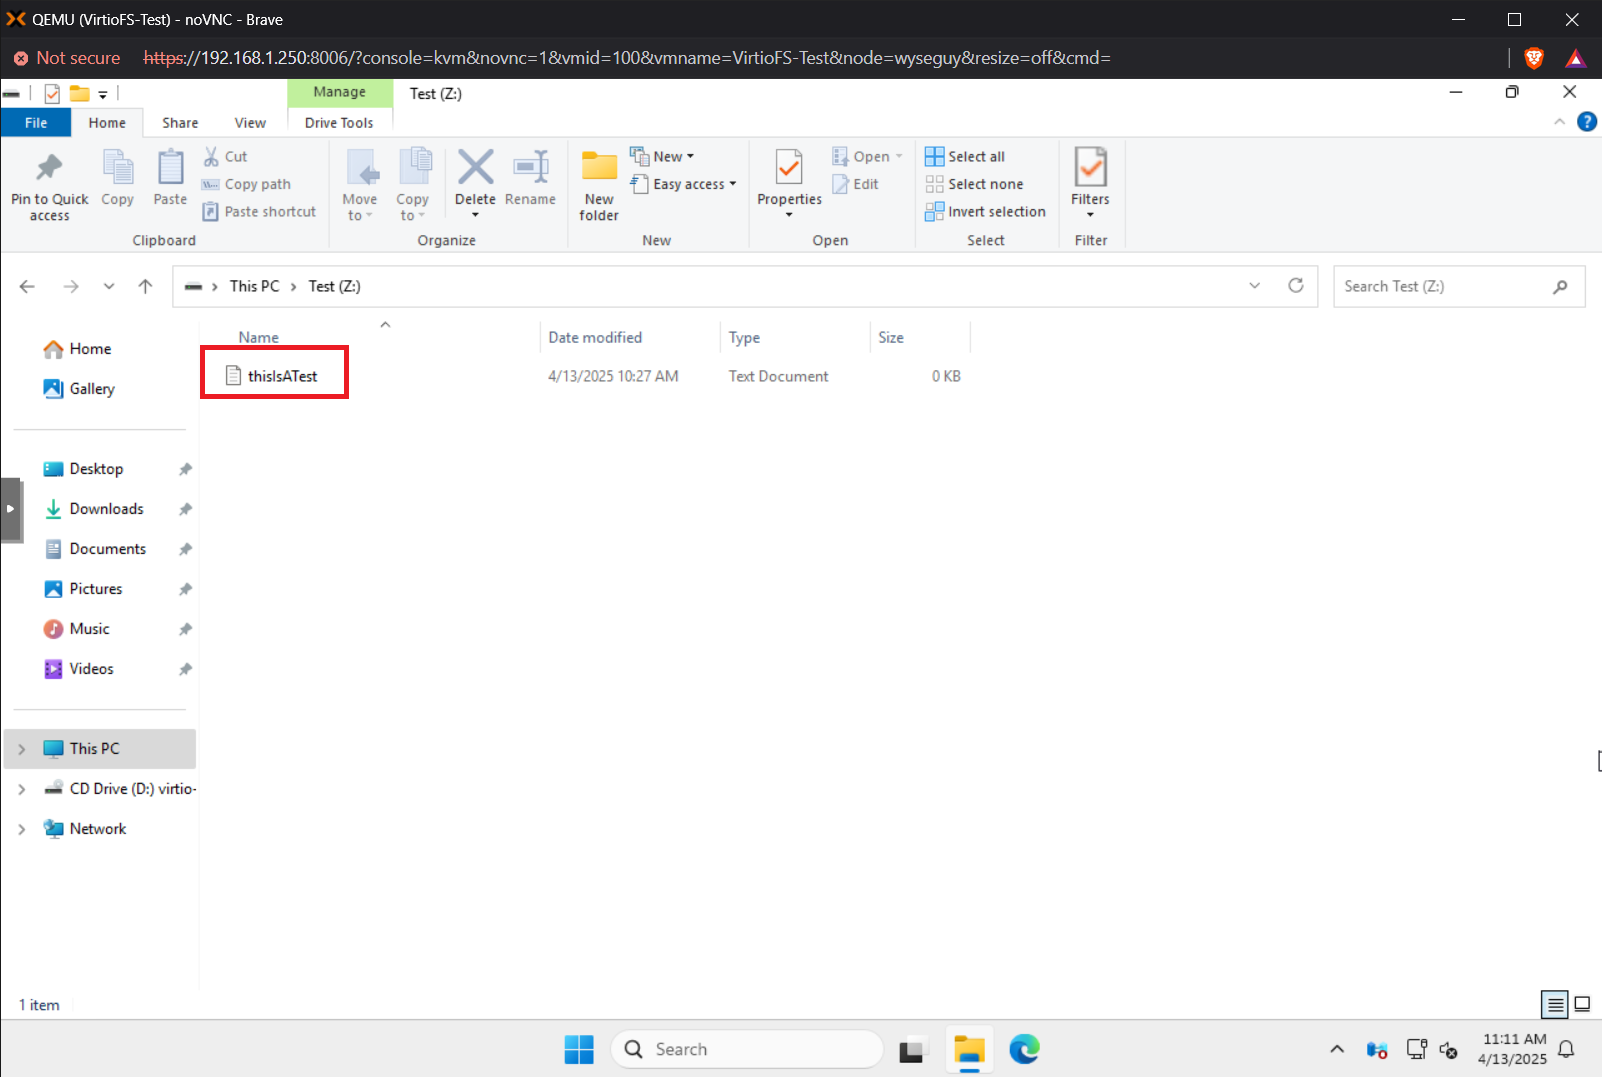
- If you open that “Z:” volume, you’ll see the “thisIsATest.txt” we created at the beginning of the guide!
Conclusion
That’s all there is to it! If you followed these steps, you should have a virtiofs volume persistently in your Windows Server 2025 VM on Proxmox 8.4 or higher!